Taking screenshots during a Google Meet session is a quick way to capture important moments, presentations, or discussions without disrupting the flow of the meeting. This guide provides clear, step-by-step instructions on how to take screenshots during meetings on different devices, helping users save crucial information for later reference.
Whether you're a student, professional, or team leader, learning this process can streamline your work and make it easier to review and document key details. You'll discover valuable tips to enhance your productivity during virtual meetings by reading further.
How To Take Screenshot On Meet
Automatically saved screenshots make it easy to capture important moments during a meeting, such as key slides or shared screens. On Windows devices, you can quickly take and save screenshots for later review.
Screenshots are especially helpful when capturing content that takes part between the time marks, ensuring you don’t miss any crucial points. You can also link these meeting images to a transcript for better context or use them as notes to highlight key takeaways. Whether you’re a student or professional, this process makes capturing and organizing information seamless.
Using 3rd Party Tools
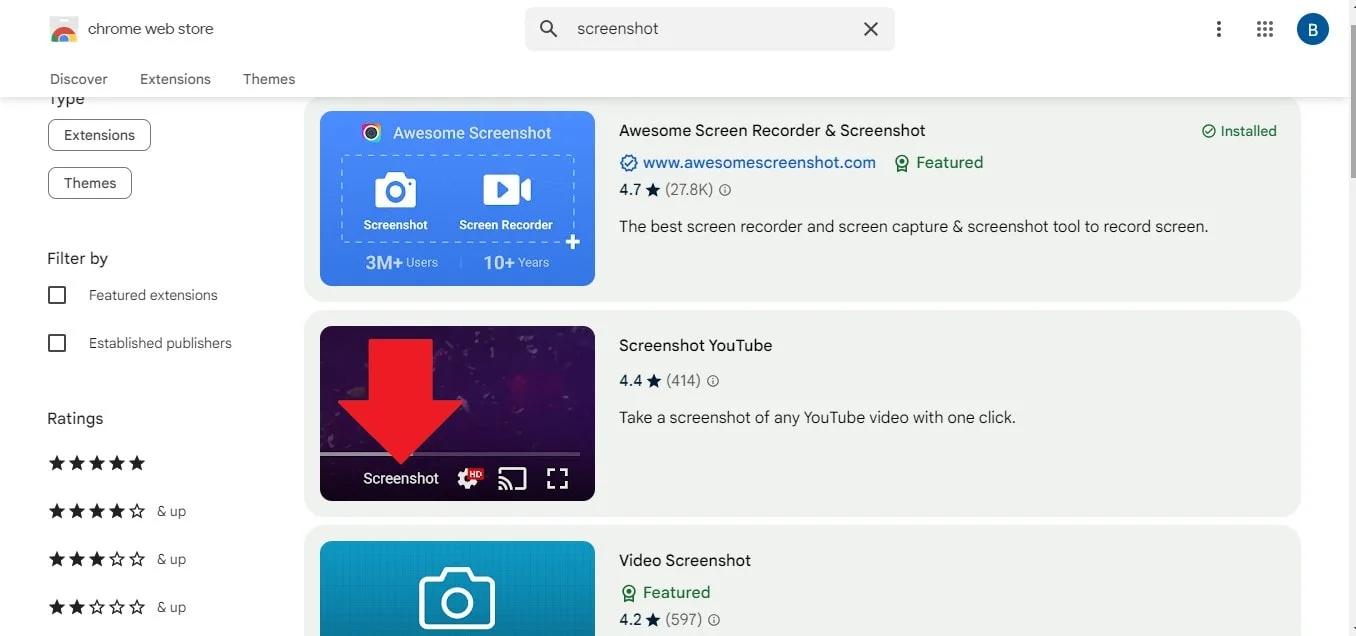
For users seeking advanced features, third-party screenshot tools can provide additional functionality. Tools allow you to view, capture, annotate, and share screenshots of a meeting easily. These tools often have features that enable video capture and recording of a meeting, making them great options for professionals.

On Android Smartphones
To take screenshots or a screenshot on Android devices during Meet meetings, follow these steps:
- Open Meet: Join the meeting where you want to capture the screenshot.
- Press the Volume Down + Power Button: Simultaneously press these buttons to capture the meeting. You'll see a quick animation indicating that a photo has been taken.
- Access the Screenshot: You can find the screenshot of the meeting in your gallery or photo app for easy sharing or reference later.
Using Built-in Windows Option
For Windows users, taking a screenshot of a meeting is straightforward:
1. Join the Meet: Ensure you attend the meeting you want to capture.
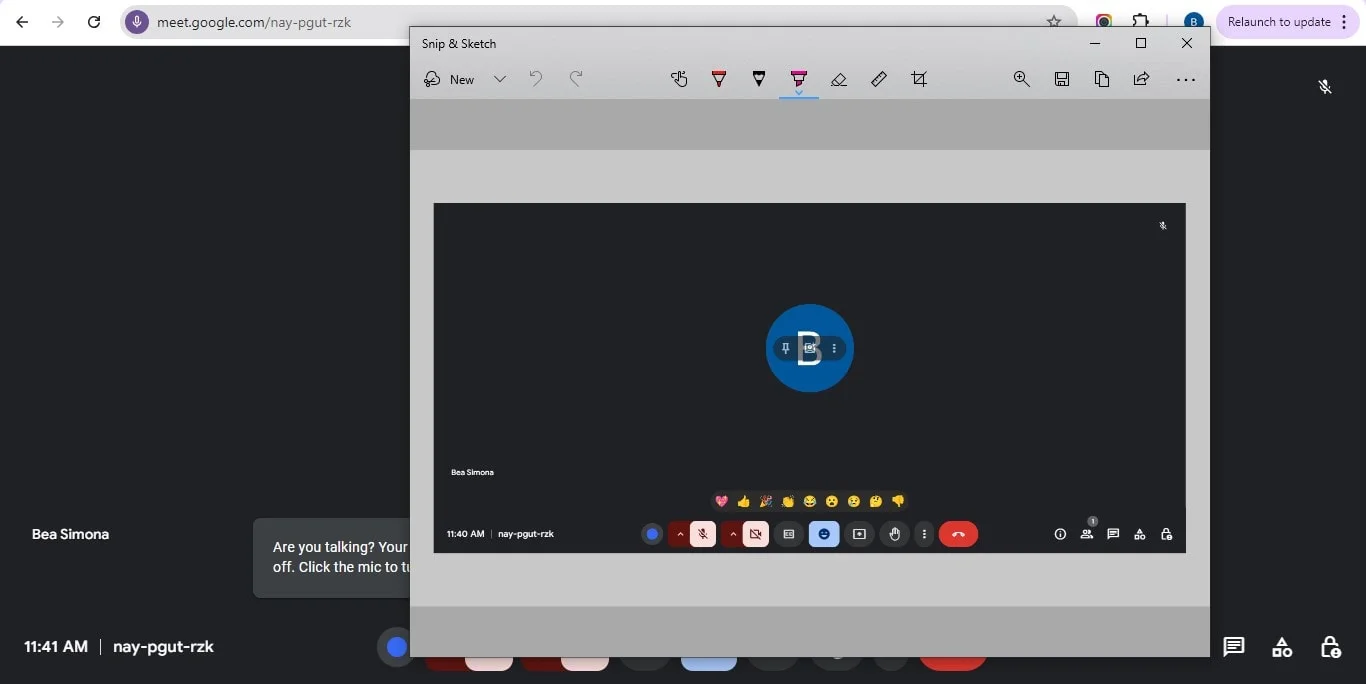
2. Use the Snipping Tool or Snip & Sketch: Press Windows + Shift + S to activate the Snip & Sketch feature. Select the area of the meeting you want to capture.

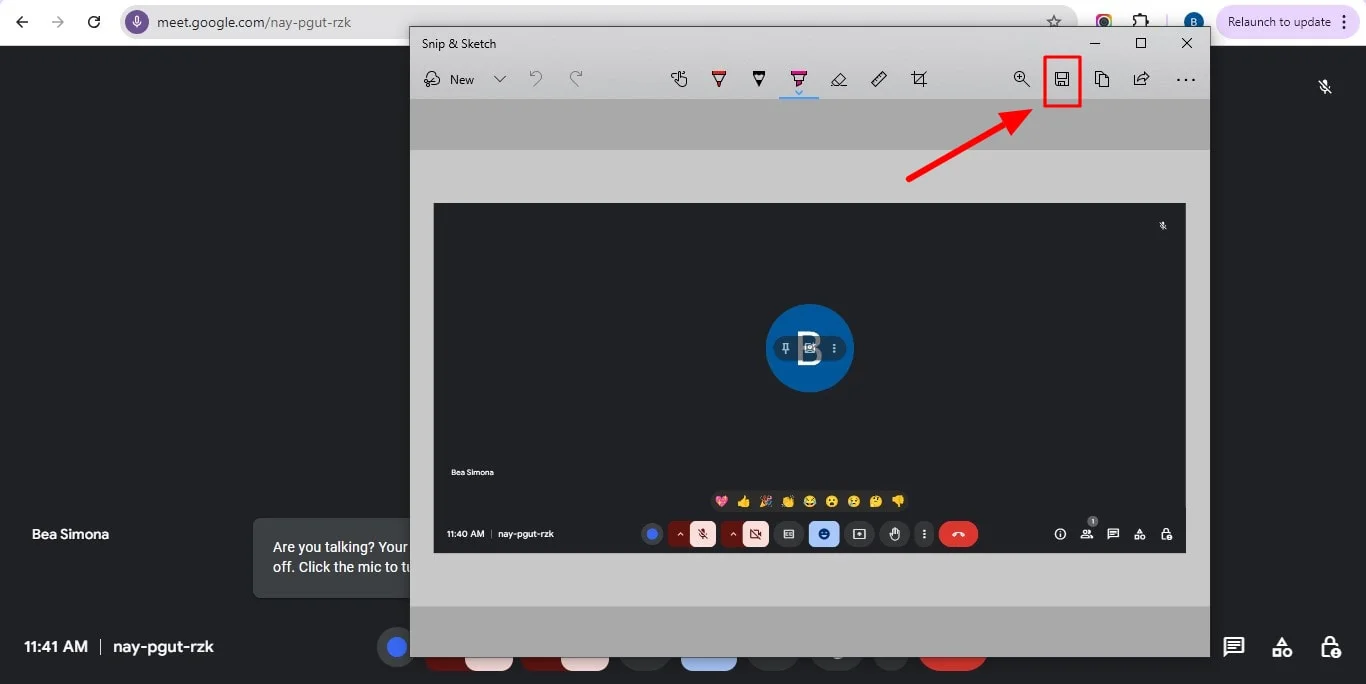
3. Paste and Save: The screenshot will be copied to your clipboard. Paste it into any document or image editor and save it.

On Chromebook
Taking screenshots of slides on a Chromebook during Meet is easy:
- Join the Meeting: Open Meet and enter the meeting.
- Press Ctrl + Show Windows: This button looks like a rectangle with two lines next to it. It captures the entire screen. Alternatively, press Ctrl + Shift + Show Windows to select a specific area of the meeting for the screenshot.
- Access Your Screenshot: The captured image will be automatically saved in the "Downloads" folder.
Does Meet Notify The Host If I Take A Screenshots?
Meet does not notify the host if you take a screenshot during a meeting. Unlike some platforms that have specific features to alert users when screenshots or note is captured, Meet allows participants to take screenshots without any notifications being sent to the host or other attendees. This means you can capture important moments or notes from your meeting without worrying about drawing attention to your actions.
If you’re using Meet for educational purposes or virtual events, it’s a useful feature to remember, especially for a student or attendees who might want to copy and save specific information shared during discussions. However, it's always good practice to respect privacy and ask for permission before capturing sensitive content from a meeting.
Conclusion
In conclusion, mastering the art of taking screenshots in Google Meet enhances your ability to capture vital information effortlessly.
To elevate recording your Meet experience even further, consider using Bluedot. This powerful tool not only assists in recording meetings—especially when someone is sharing their screen—but also offers a comprehensive suite of features, including automatic transcription of your recordings for later use.
Additionally, Bluedot provides auto-generated emails, conference call transcription, automatic note taker, meeting minutes transcription, interview transcription software, meeting templates, and secure storage to streamline your workflow.

%201.svg)
