

Recording yourself on Microsoft Teams is a straightforward way to capture important presentations, tutorials, or personal meeting notes, even without participants. In our guide, you'll learn the step-by-step process for recording your screen and yourself, ensuring that nothing gets missed during critical moments.
By continuing to read, you'll discover valuable insights into using Teams effectively for solo recordings, including options for sharing on-screen content like PowerPoint presentations.
How To Record Yourself On A Teams Meeting
Recording business meetings or even training videos can seem very daunting, but we've got some easy steps compiled to help you record screen easily:
For hosts only:
1. Start or join your meeting: Begin your Teams meeting as the host.
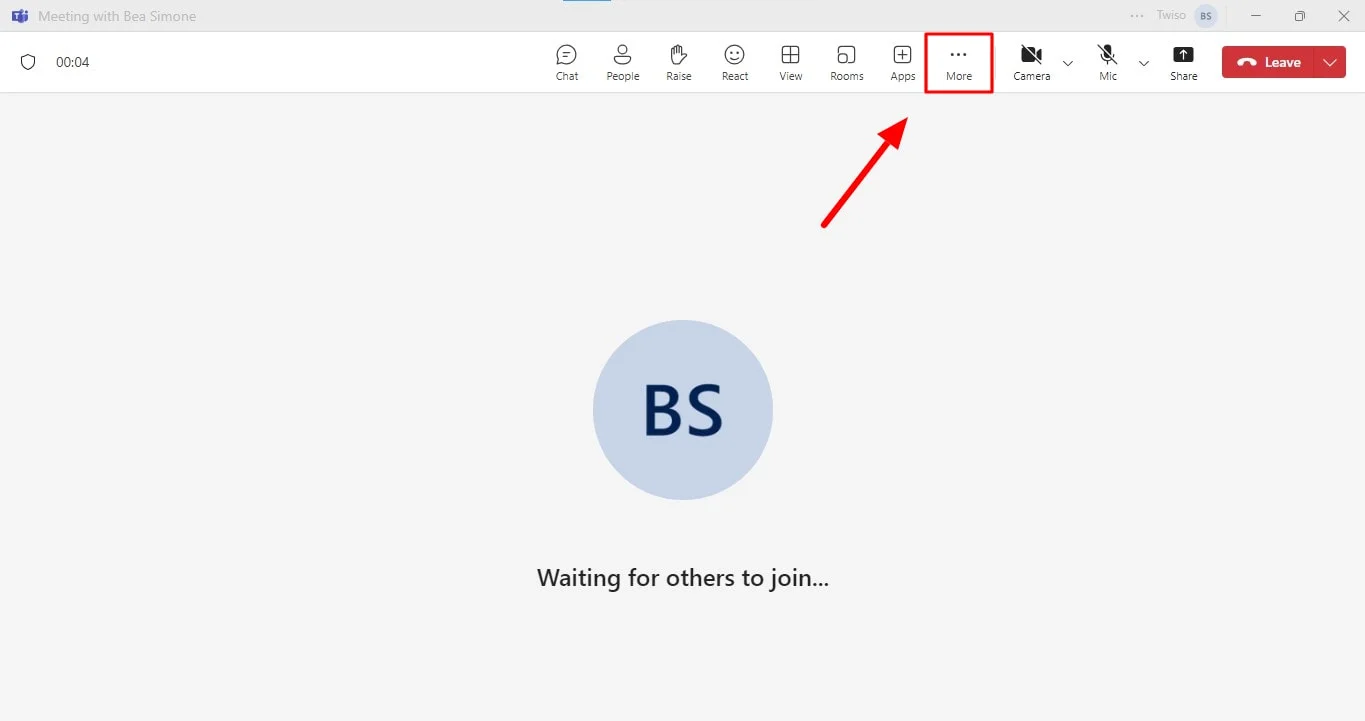
2. Access meeting controls: Locate the meeting controls at the top of your screen.
3. Start record: Click on the "More actions" button and
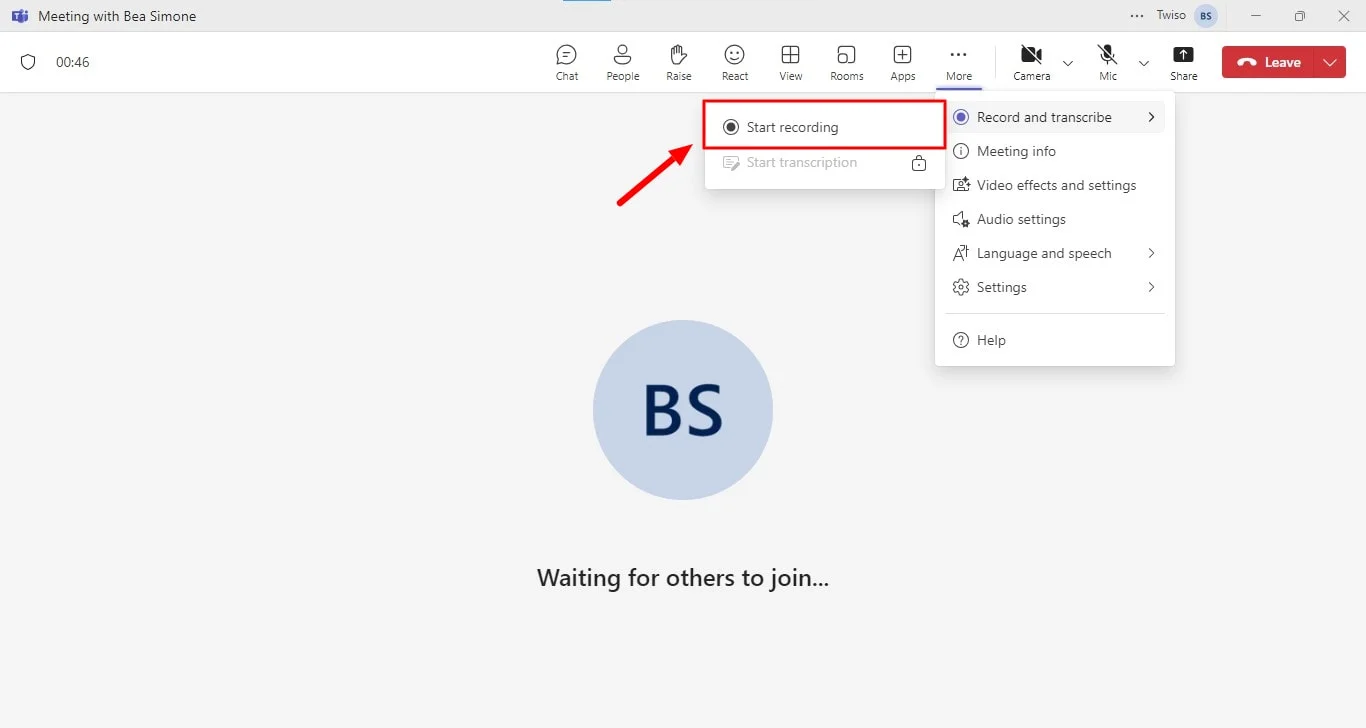
click "Record and transcribe",
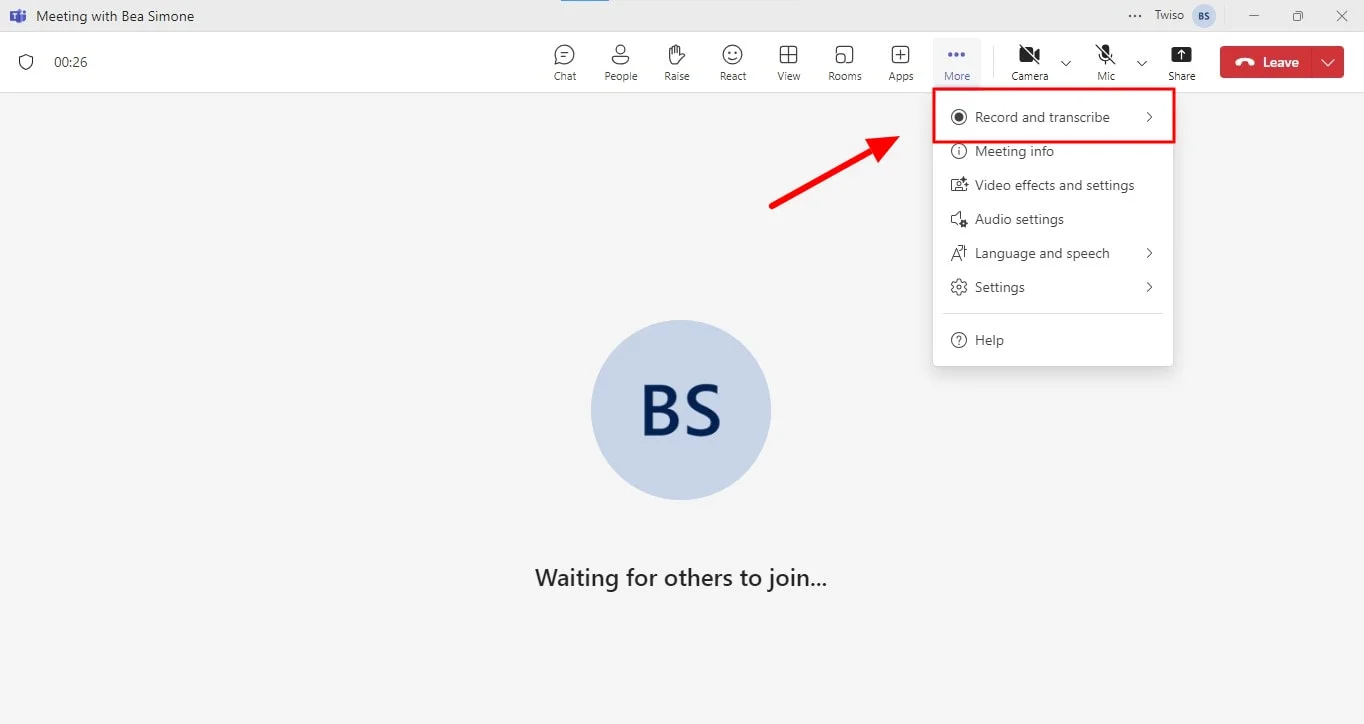
then select "Start recording" to take a video clip.
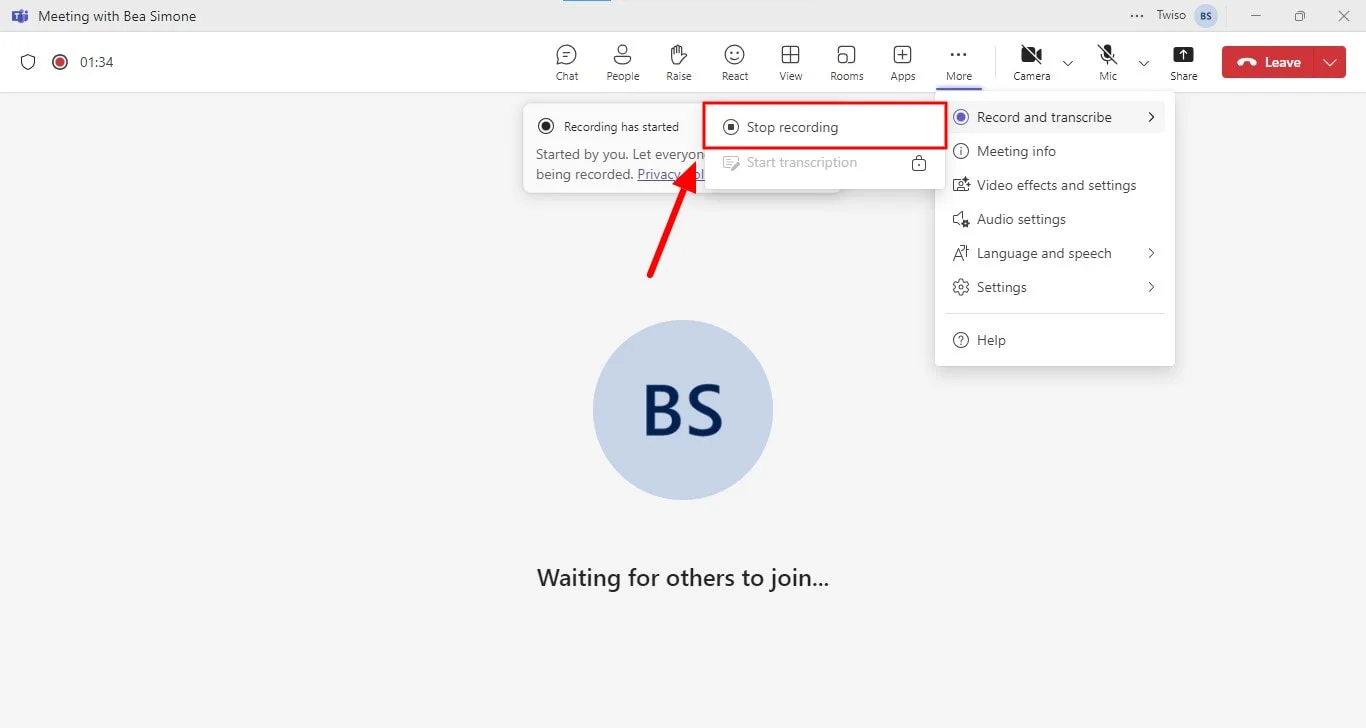
4. Select stop: Select "Stop recording" from the drop-down menu when the meeting has ended
How To Record A Video In Teams Without Participants
When you want to record yourself as a meeting organizer on-screen using Teams to create tutorial videos for presentation, this is the best way to meet your needs. Get started using the following steps.
- Launch Teams on your PC: Open the Microsoft Teams app on your computer.
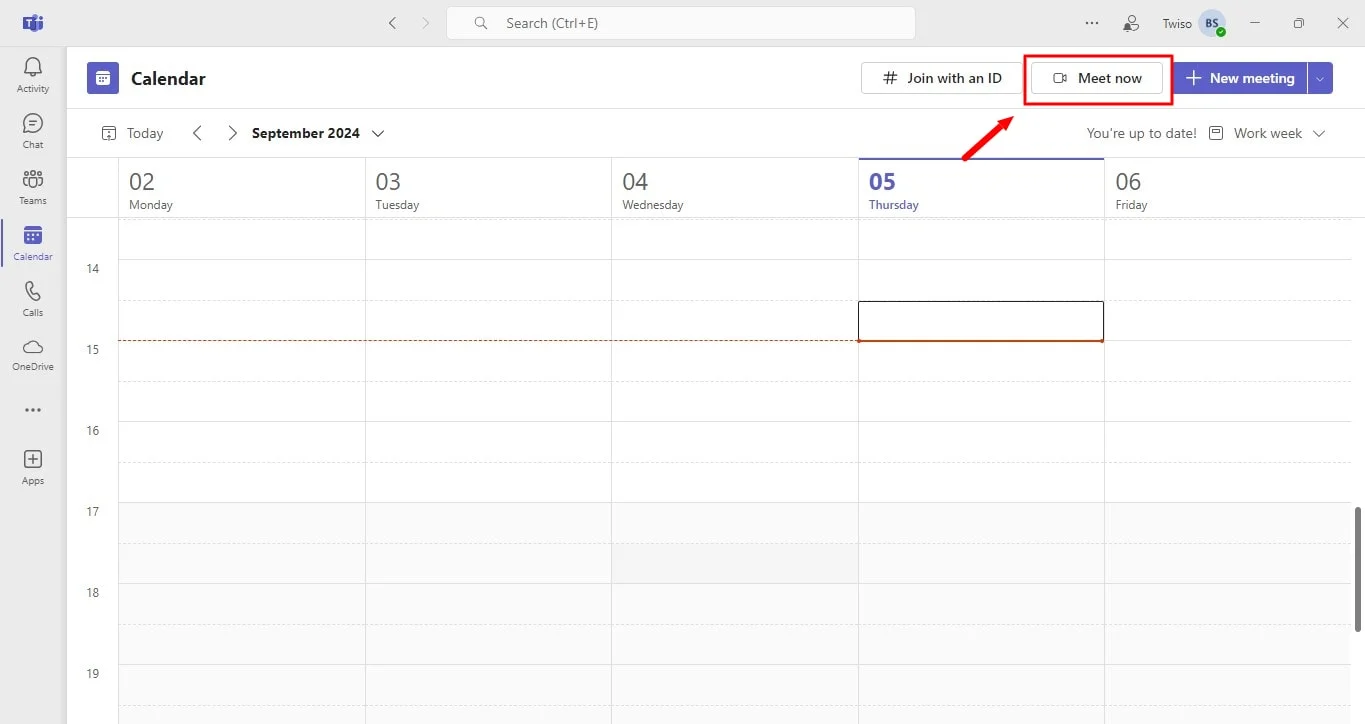
- Schedule a solo meeting: Head to the Calendar section and click the "Meet Now" button.
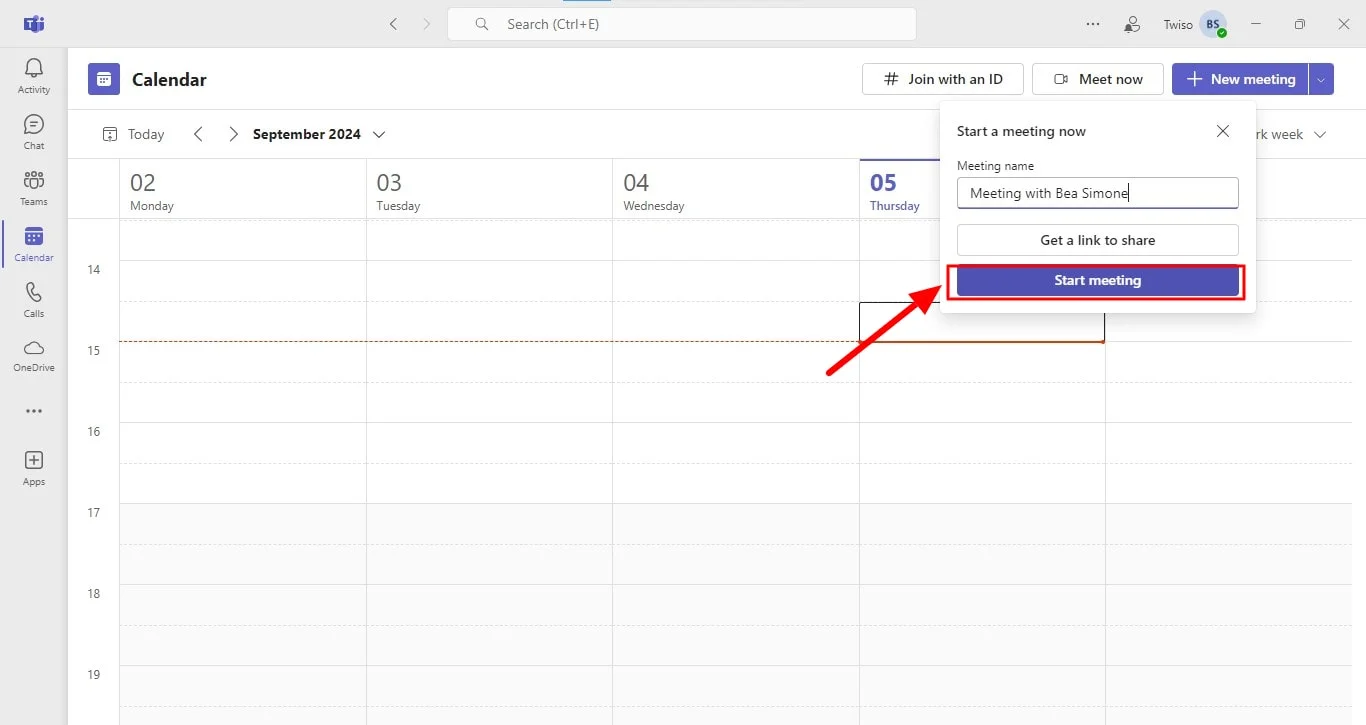
Give your recording session a descriptive title and click "Start meeting." You'll be the only participant in this "meeting."
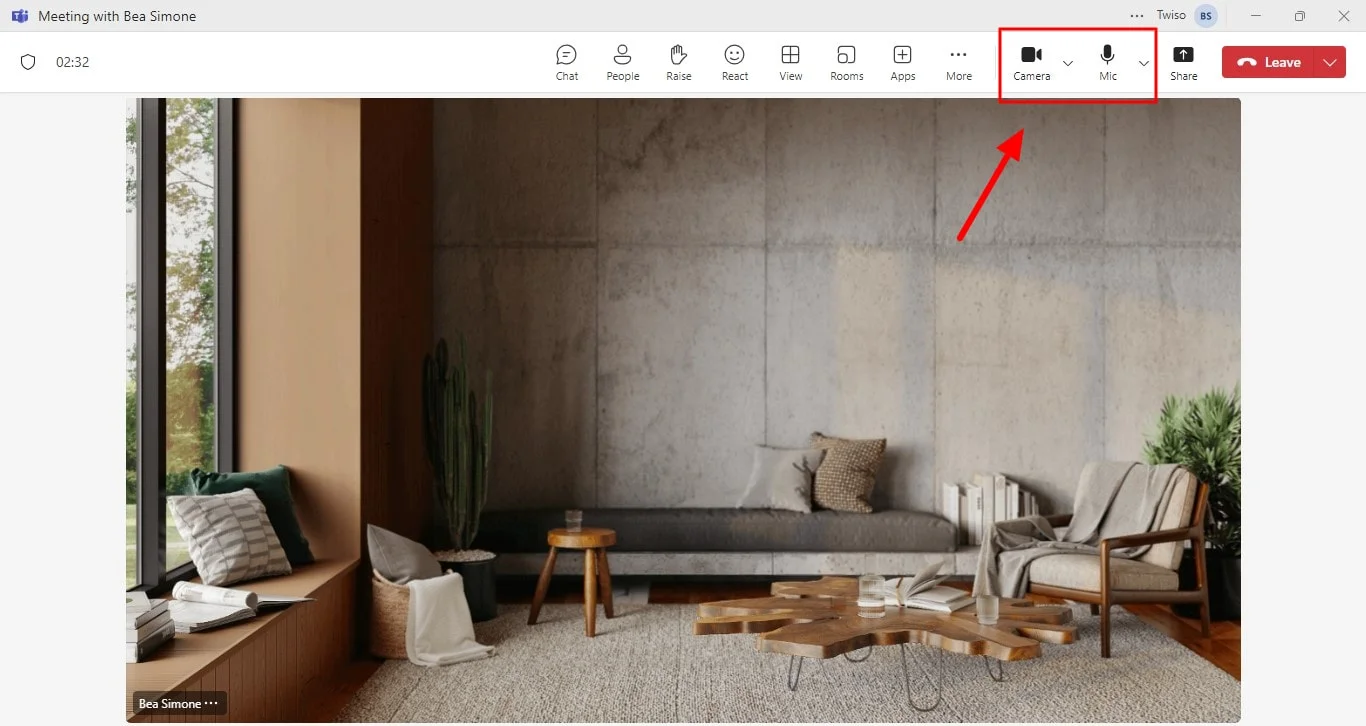
- Turn on camera and microphone: If you want to appear in the recording, activate your camera and microphone using the respective buttons in the meeting controls.
- Choose what to share: Click on "Share content" to decide what appears on screen with you. Options include:

- Start recording: Move your mouse to reveal the meeting menu bar at the bottom of the screen. Click the three dots (...) and select "Start recording" from the menu.
- Stop recording: When finished, click the three dots (...) again, select the menu bar, and then click "Stop recording."
Where Is Teams Screen Recording Stored?
When you record Teams meetings, the recording is saved in different locations depending on the type of meeting:
- Channel Meetings: If the meeting takes place in a Teams channel, the recording is automatically stored in the Files tab of that channel group chat. The recording is saved in SharePoint or OneDrive, and tied to the channel's document library.
- Non-Channel Meetings: For meetings outside of channels (such as private meetings or group calls), the recording is stored in MS Stream under the “Recordings” or "Downloads" folder of the person who initiated the recording.
These recordings can be accessed, shared, or downloaded depending on your permissions within the organization.
Common Issues And Solutions With Teams Meetings
While Microsoft Teams is a powerful collaboration tool, it's not without its flaws. Here are some key issues that users often encounter:
1. Performance and lag
- Problem: Slow loading times, audio/video quality issues, and dropped calls can significantly disrupt meetings and reduce productivity.
- Solution: Optimize network connection by using Ethernet instead of Wi-Fi, update device drivers to improve performance, close unnecessary applications to free up system resources, and consider investing in a dedicated video conferencing device for optimal results.
2. Audio and video quality
- Problem: Echoes, noise cancellation issues, and low video resolution can hinder communication and engagement.
- Solution: Use a high-quality headset with noise-canceling capabilities, check audio settings to ensure proper configuration, adjust video settings to balance quality and bandwidth, and use a dedicated webcam for clearer video.
3. Meeting features
- Problem: Limited features, complex user interface, and difficulty finding specific functionalities can frustrate users and hinder productivity.
- Solution: Explore third-party integrations to enhance Teams' capabilities, provide feedback to Microsoft to help improve the platform, and consider alternative video conferencing platforms if Teams doesn't meet your specific needs.
4. Integration issues
- Problem: Compatibility problems, cumbersome integration processes, and difficulties with connecting Teams to other applications can hinder workflows.
- Solution: Check compatibility between Teams and third-party applications, reach out to support teams for assistance, and explore alternative integration methods or tools if necessary.
5. Security and privacy concerns
- Problem: Data privacy risks, meeting security breaches, and unauthorized access can compromise sensitive information and jeopardize user trust.
- Solution: Enable two-factor authentication for added security, review and adjust meeting privacy settings to prevent unauthorized access, be vigilant against phishing attempts, and report any security issues to Microsoft immediately.
Conclusion
Recording meetings in Microsoft Teams is crucial, especially when you or someone else is sharing their screen. Capturing these moments ensures that all key points, presentations, and decisions are preserved for future reference.
Bluedot is the ultimate tool to assist in this process, offering both recording, seamless transcription, and much more. It automatically transcribes meetings in multiple languages, sends out auto-generated emails, and provides customizable meeting templates for enhanced efficiency.
Additionally, Bluedot securely stores your recordings, including Google Meet sessions, so you can access and use them at any time. This combination of features such as interview transcription software, Conference call transcription, Microsoft Teams AI note taker, meeting minutes transcription, auto note-taker, Meet transcription, and editing Microsoft Teams, makes Bluedot the go-to solution for recording and managing your Microsoft Teams meetings with ease and security.
FAQs
Can I record myself on Teams without a scheduled meeting?
Yes, you can record yourself on Microsoft Teams without scheduling a meeting. Simply open the desktop application, select "Meet Now," and start your solo recording.
How do I record myself using Microsoft Teams with a meeting link?
You can use the desktop app to join a scheduled meeting via a link, then start recording by accessing the meeting controls.
Can I record myself using the Teams desktop app without other participants?
Yes, the desktop app allows you to start a solo recording by selecting "Meet Now" without needing to invite other participants or use a link.
%201.svg)
