Recording yourself and your screen at the same time is a powerful technique that allows you to create engaging and informative content for your audience. This process not only helps you capture your presentations, tutorials, or meetings but also enhances viewer engagement by showing your reactions and insights alongside the visual material.
The insights gained from recording your screen and webcam can include improved communication, clearer explanations of complex topics, and the ability to reference key points visually. As you read further, you’ll discover step-by-step instructions, tips, and tools that simplify the recording process, making it accessible to anyone.
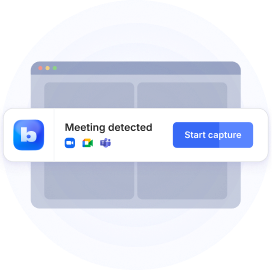
Record Yourself And Your Screen At The Same Time with Bluedot
Step 1: Install Bluedot extension
- Begin by installing the Bluedot extension for your web browser. You can find it in the Chrome Web Store or the relevant extension marketplace for your browser.
Step 2: Start recording
- Once you join your Google Meet, Microsoft Teams, or Zoom meeting, you can start recording. Ensure your webcam is positioned correctly if you want to include yourself in the recording. Bluedot will now capture your video recording alongside your screen activity.
Step 3: Engage with your content
- While recording, maintain eye contact with the webcam to keep your audience engaged. Use gestures to emphasize your points, as this interaction enhances the effectiveness of both your screen and webcam recorder output.
Record Screen And Webcam With Software
When it comes to recording your screen and webcam, dedicated software is often the best choice for capturing high-quality video. Here are some top software options to consider:
Bluedot
This is a user-friendly tool that allows you to record screen and webcam effortlessly. With Bluedot, you can capture your entire screen or select specific areas while also recording your webcam.

Its intuitive interface simplifies the process, making it accessible for beginners and professionals alike. Additionally, Bluedot offers video editing features to enhance your recordings post-capture, ensuring your content is polished and professional. Bluedot's features include AI-powered transcription and real-time analytics.
OBS Studio
A popular choice among gamers and streamers, OBS Studio provides powerful features for screen and webcam recording and live streaming.
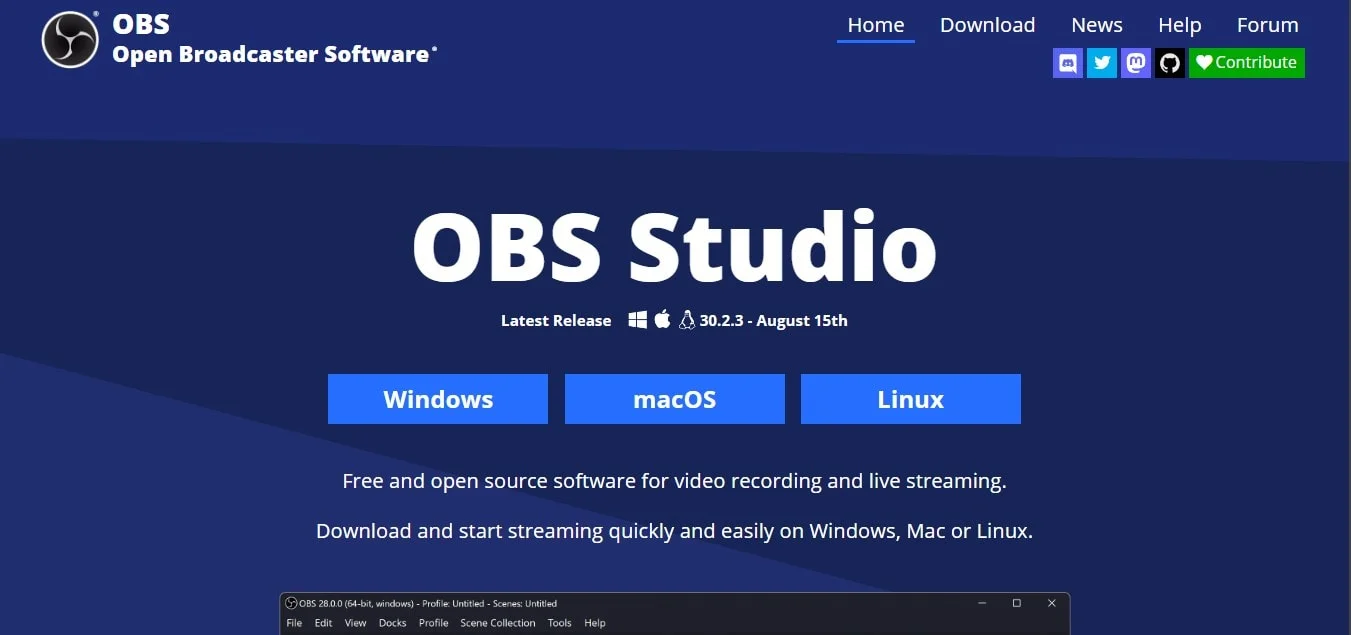
This software allows you to customize your recording interface extensively, including options to adjust your webcam and camera window size and position while capturing your screen. OBS is free and open-source, making it a go-to for many content creators looking for flexibility.
Camtasia
This all-in-one screen recording software is ideal for creating high-quality instructional videos. Camtasia offers advanced video editing tools, allowing you to add effects, transitions, and annotations after you finish your recording.
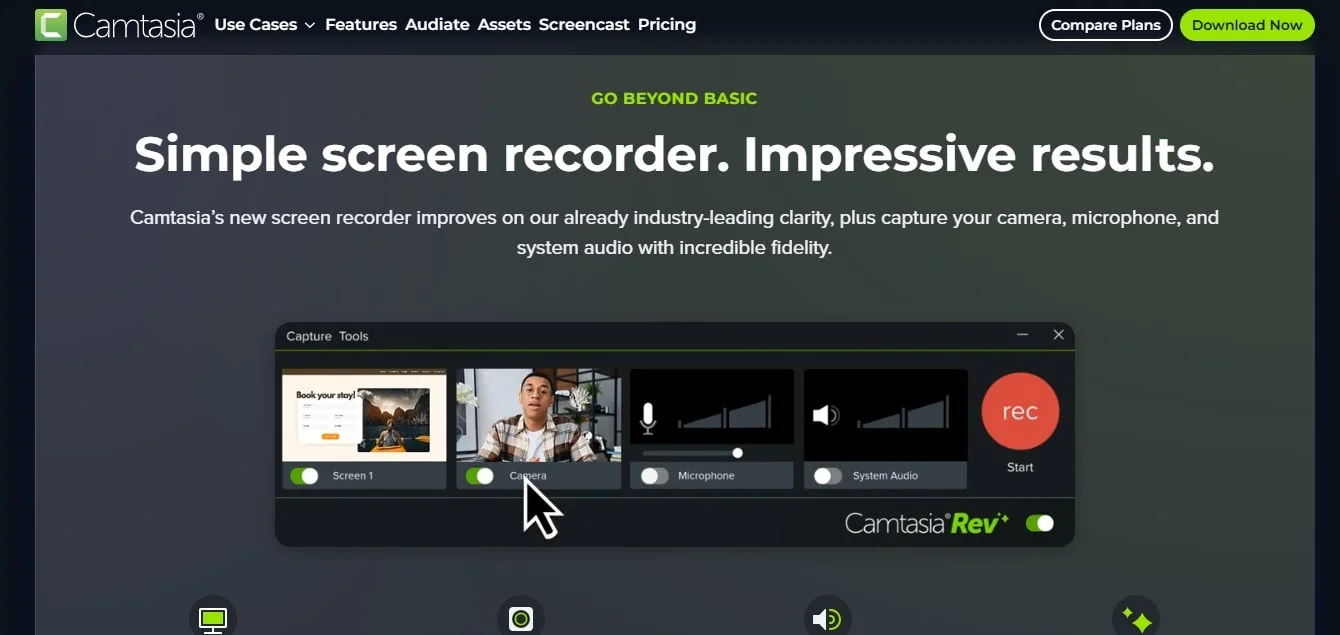
Its ability to screen record simultaneously with your webcam makes it a favorite for educators and marketers.
Snagit
Primarily known for its screen capture capabilities, Snagit also includes robust screen recording features.
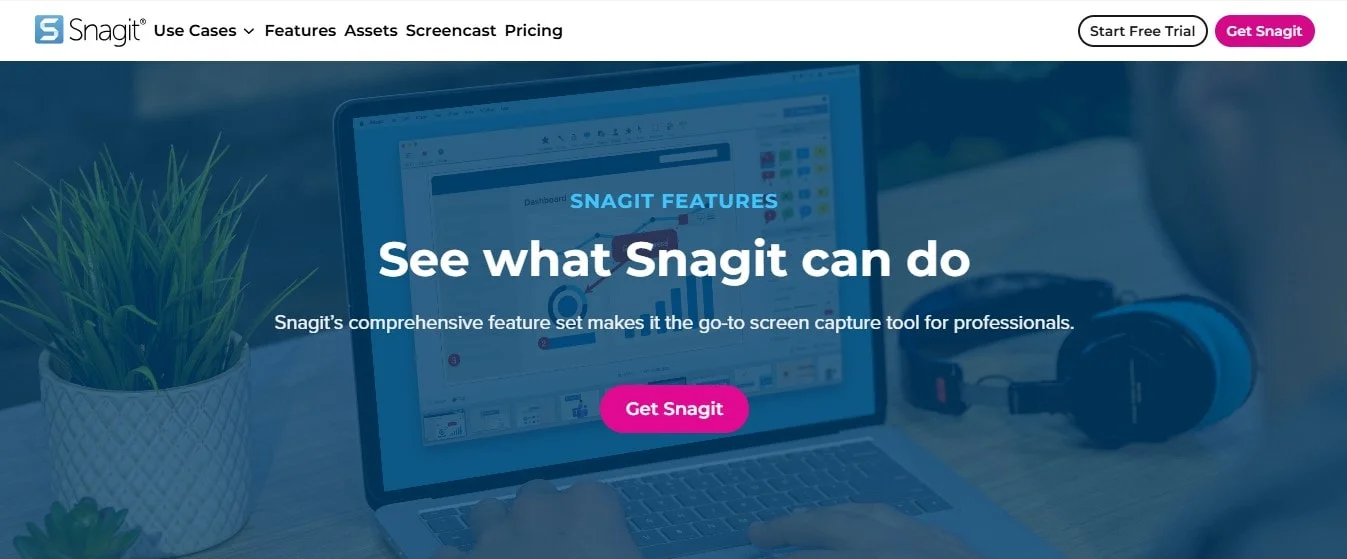
This tool allows you to record screen activity and your webcam simultaneously, making it ideal for creating tutorials and professional videos or sharing presentations. Snagit’s editing tools help you customize your recordings with text, arrows, and other visuals.
Record Screen And Webcam With An Online Tool
For those who prefer not to download software, online screen recorders provide a convenient alternative. Here are some effective online options to record both your screen and webcam:
Loom
Loom is an excellent online tool that lets you record your screen and webcam simultaneously. It’s perfect for quick sharing of your webcam recorder, as you can instantly generate a link to your recorded video. Loom also offers basic editing features to trim and enhance your recordings before sharing.

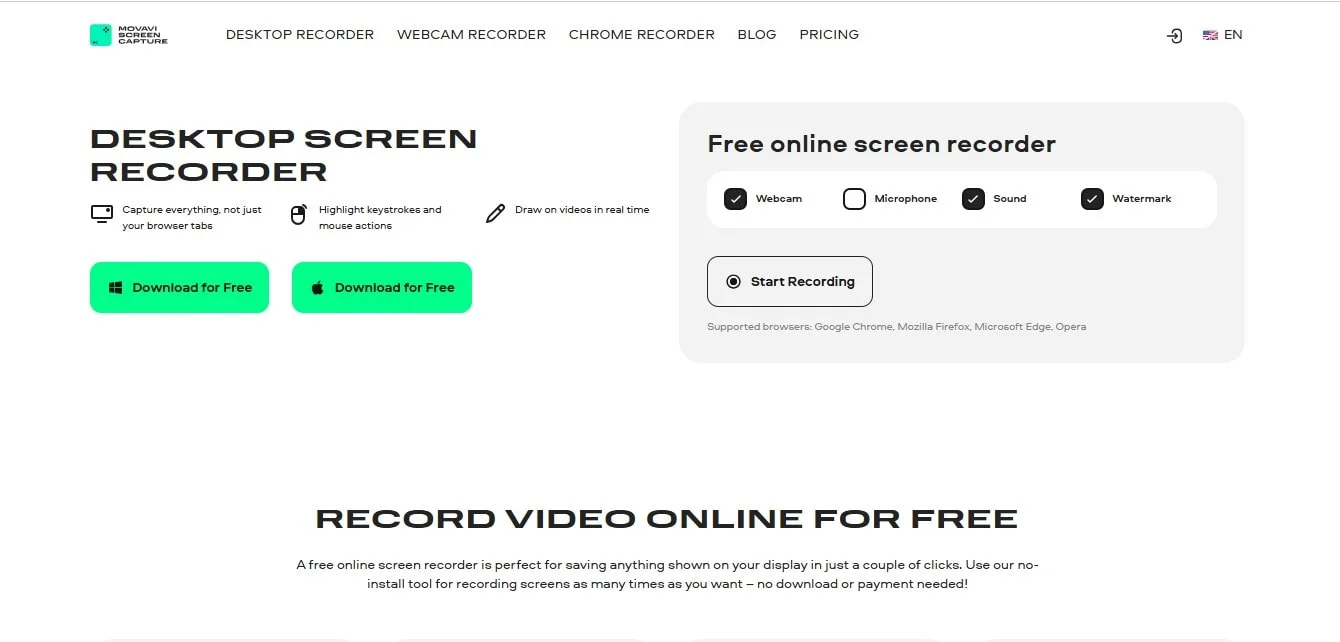
Screencapture
This simple online screen recorder enables you to capture your screen and webcam without any software installation. Just open your browser tab on the website, select your recording options, and you’re ready to start recording. Once completed, your video can be easily saved and shared.
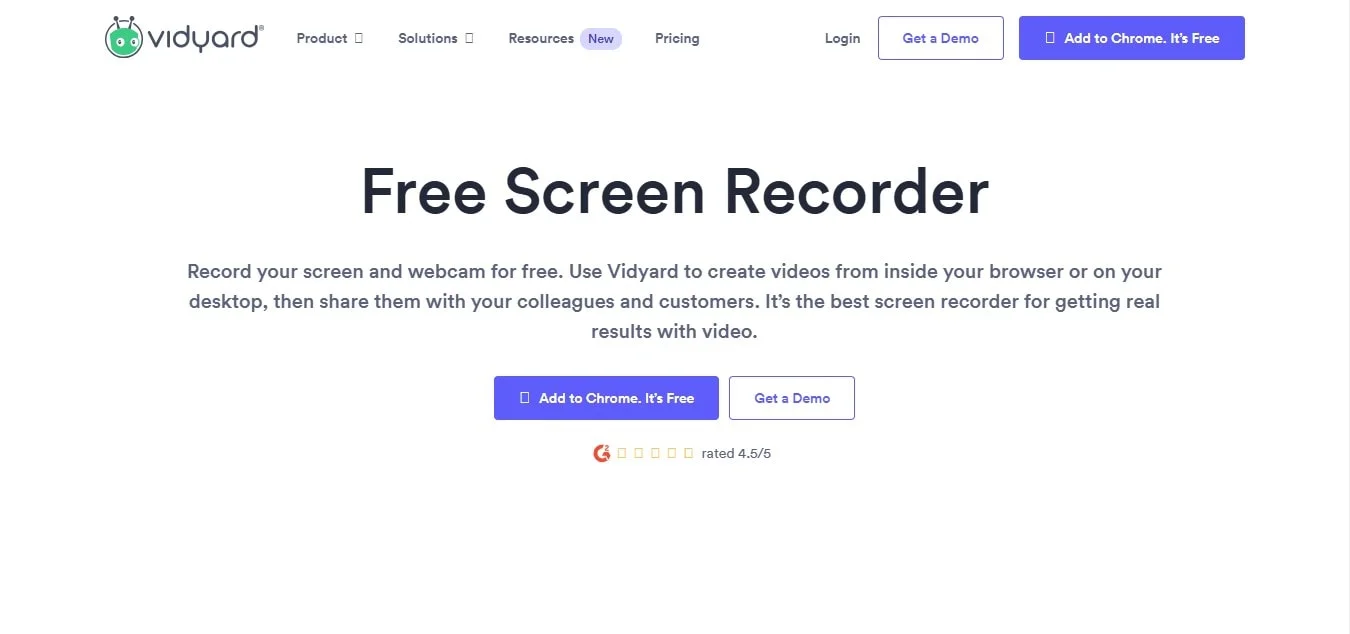
Vidyard
Vidyard is another online platform that allows you to record screen, web camera, and webcam easily. Its user-friendly interface makes it simple to start recording, and it provides tools for sharing and analyzing your videos post-recording.
Screen Recorder And Webcam With Default Recording Tools
Many operating systems come with built-in screen recording tools that can record screens and also capture webcam footage. Here’s how to use them effectively:
- Windows Game Bar: On Windows 10 and later, the Game Bar allows users to record screen and webcam during gameplay or any on-screen activity. Press Windows + G to open the Game Bar, select the Capture option, and begin recording.
- Mac’s QuickTime Player: Mac users can utilize QuickTime Player to record their screen and webcam. Open QuickTime, go to File > New Screen Recording, and then select the option to include the webcam.
- Built-in Tools on Chromebooks: While we’re not focusing on Chromebooks here, it’s worth noting that many devices have similar built-in tools that allow users to record screen activity easily, typically through shortcuts.
Tips for recording your screen and webcam
1. Check your settings:
Before you start recording, ensure that your settings for both video and audio are optimized. Adjust the resolution and frame rate for high-quality visuals.
Test your microphone audio to capture clear sound, and make sure you’re set up to record system audio if needed. This attention to detail can significantly improve your screen recording experience.
2. Plan your content:
A well-structured plan enhances the effectiveness of your video. Outline key points and create a script or cue cards to keep you focused. This will reduce filler words and maintain a smooth flow, making it easier for your audience to follow along.
It’s crucial when using a screen recorder since viewers can easily lose interest if the presenter seems unprepared.
3. Use good lighting:
Proper lighting is essential for high-quality webcam recording. Position yourself to take advantage of natural light by facing a window or invest in softbox lights or ring lights. Good lighting enhances the professionalism of your video, making your screen and webcam recording more engaging.
4. Test your recording:
Always perform a test or start screen recording before the main session. This allows you to check audio levels and video quality, ensuring a smooth process. Play back the test to evaluate clarity and make necessary adjustments, helping you avoid surprises during your actual screen recording.
5. Stay engaged:
Engage with your audience by maintaining eye contact with the camera, screen and webcam and using gestures to emphasize points. Speak clearly and confidently to keep viewers focused. Personal anecdotes or examples can make your content relatable and engaging, enhancing the overall impact of your video recording.
6. Limit distractions:
Before starting your recording, minimize distractions in your environment. Close unnecessary applications and notifications to prevent interruptions during the process.
A tidy workspace contributes to a professional backdrop for your screen and webcam recording.
7. Use a quality webcam:
For serious content creation, consider investing in a high-definition webcam. Many built-in laptop cameras offer subpar quality, so an external webcam can provide clearer video and better color accuracy. Adjust camera recording settings for optimal clarity, enhancing your audience's viewing experience.
8. Edit thoughtfully:
After recording, don’t rush into sharing your video. Take the time to edit using video editing features available in your software. Add overlays, annotations, or highlights to emphasize important points.
If your session was lengthy, trim unnecessary sections to keep your content concise and engaging, transforming it from basic to professional.
9. Choose the right format:
Determine the best video format for your needs. For platforms like YouTube, follow their recommended settings for optimal playback.
Be mindful of file sizes and compression settings, especially when sharing recorded videos via email or other platforms. Proper formatting ensures easy access and viewing for your audience.
10. Ask for feedback:
After sharing your recorded video, seek feedback from viewers. Constructive criticism can provide insights into what worked well and what could be improved. Use this feedback to refine your future recordings, enhancing your skills in screen recording and webcam usage.
Conclusion
In summary, recording yourself and your screen simultaneously has never been easier, thanks to Bluedot. As leading screen recording software, Bluedot offers an intuitive interface and powerful features that make it the ideal choice for anyone looking to create high-quality video content and even basic screen recording of their computer screen. Its ability to capture both your screen and webcam ensures that your audience stays engaged, while the video recording options provide flexibility and clarity.
The importance of recording meetings with a screen recorder cannot be overstated, especially when someone is sharing their screen. Bluedot excels in this area by assisting users in seamlessly recording these crucial moments.
Beyond just transcription, Bluedot offers features such as editing features, recording transcription, auto-generated emails, editing a teams recording, interview ai extension, interview transcription software and meeting templates, and secure storage, making it a comprehensive solution for all your recording needs.
Whether you're creating tutorials, presentations, or conducting meetings, Bluedot stands out as the best tool for seamless screen experiences.


