
Recording your screen on a Chromebook is a straightforward process that can enhance your productivity and communication. With built-in tools and simple keyboard shortcuts, you can easily capture your Chromebook screen to create tutorials, share presentations, or record gameplay. This guide provides valuable insights into selecting the right recording options, whether you want to capture your full screen or a specific window.
By learning how to effectively record screens on Chromebook, you'll discover solutions for effectively conveying information, troubleshooting issues, or creating engaging content. Continue reading to unlock the full potential of your Chromebook’s screen recording capabilities and elevate your digital communication skills.
How To Screen Record With The Built-In Screen Recorder
To screen record using Chromebook's built-in tool, first access the screencast app by pressing the key (usually located in the top row of the keyboard). This will bring up the screen capture toolbar. Here, you can choose to record the full screen or select a specific window or browser window to capture.
Once you've made your selection, click the gear icon for additional settings, where you can adjust audio and other options. To begin recording, click the record video button. When you are finished recording, click the up arrow in the bottom right corner, to stop the recording. The captured video will be saved in webm files format, making it easy to find in your downloads folder.
How To Screen Record Using A Simple Keyboard Shortcut
To quickly screen record on Chromebook, you can use a keyboard shortcut for efficiency. Press Ctrl + Shift + Show Windows (the Windows key on your keyboard) to open the screen capture toolbar. Here, you can select whether to capture a full screen or a specific window.
If you want to include audio, make sure to check the relevant settings in the gear icon. After selecting your recording preference, you can simply press the screenshot key again to begin recording. Once you're done, use the keyboard shortcut Search + Shift + X. to stop the recording.
Your screen recordings will automatically be saved in your downloads folder, ready for your video project or sharing.
Screen Recordings Using A Browser Extension
To screen record on a Chromebook using a browser extension, begin by installing a reliable screen recorder from the Chrome Web Store. Here's how:
1. Go to Chrome Web store.
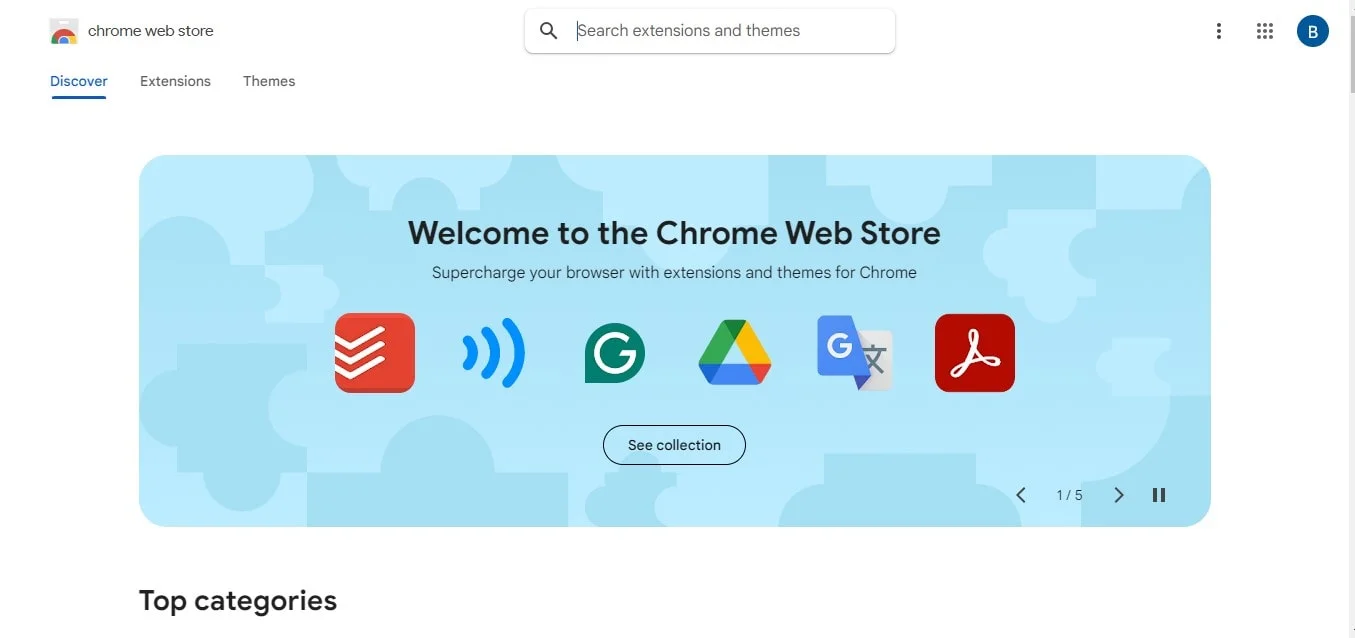
2. Search for "screen recorder" in the search bar.
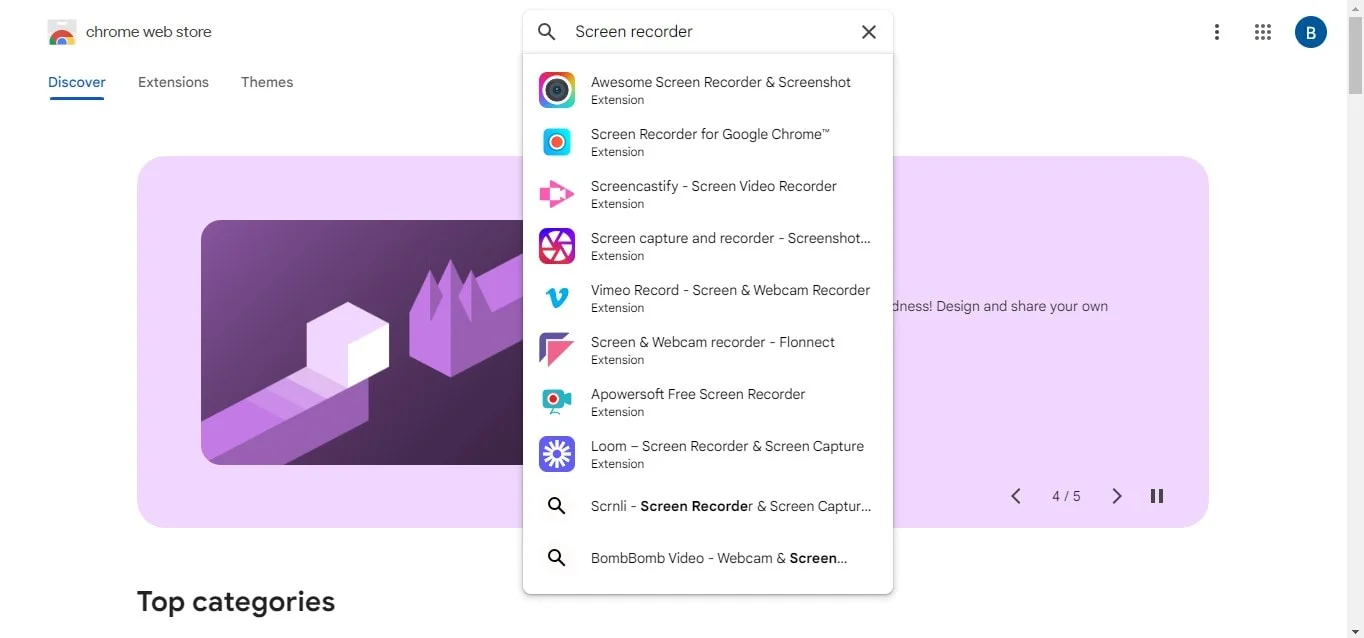
3. Choose your desired app.
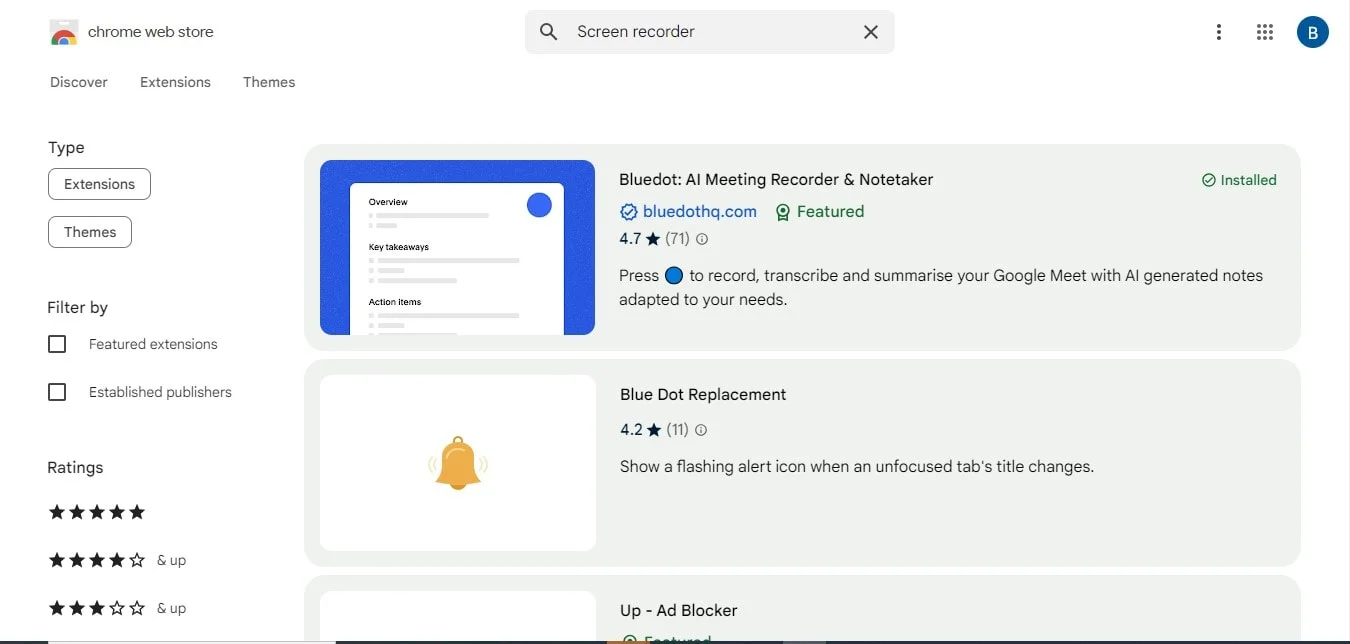
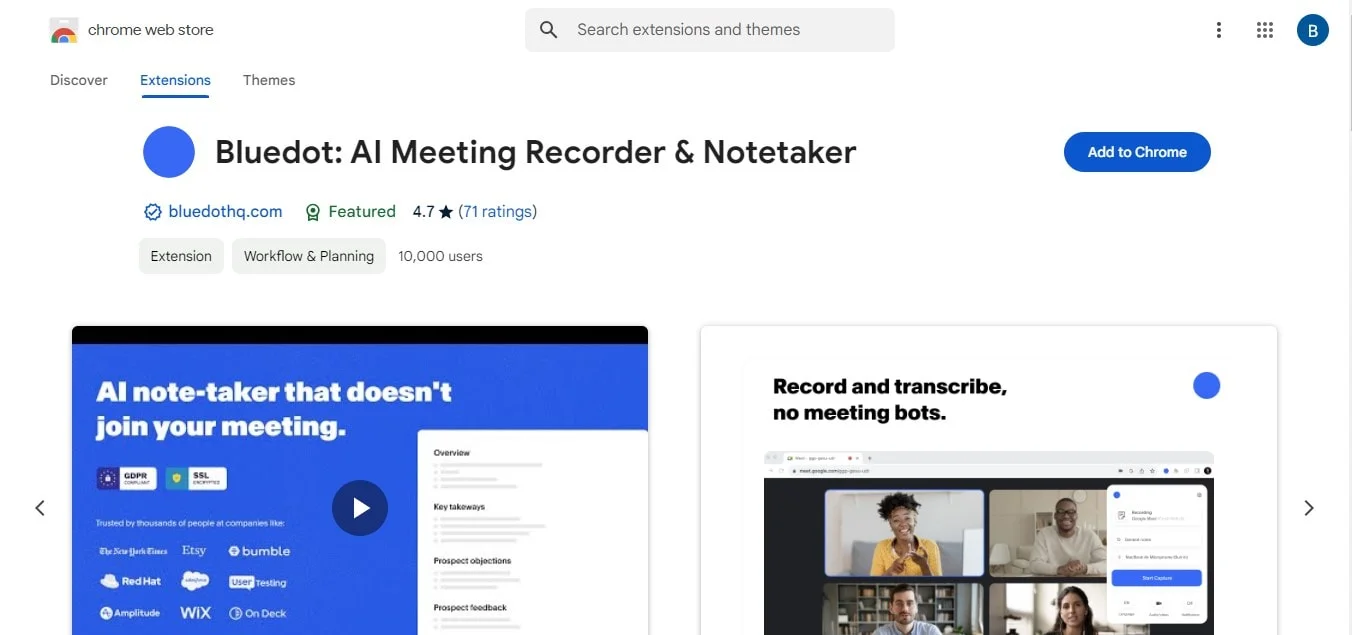
4. Click "Add to Chrome".

5. Grant the necessary permissions.
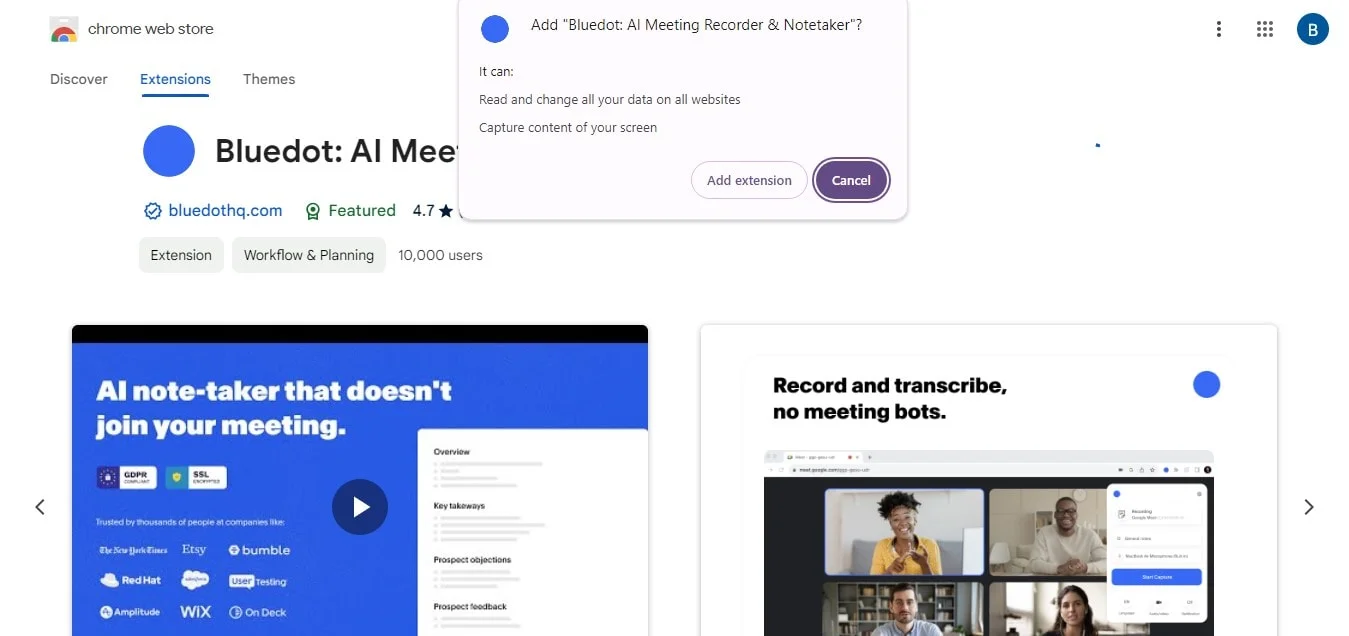
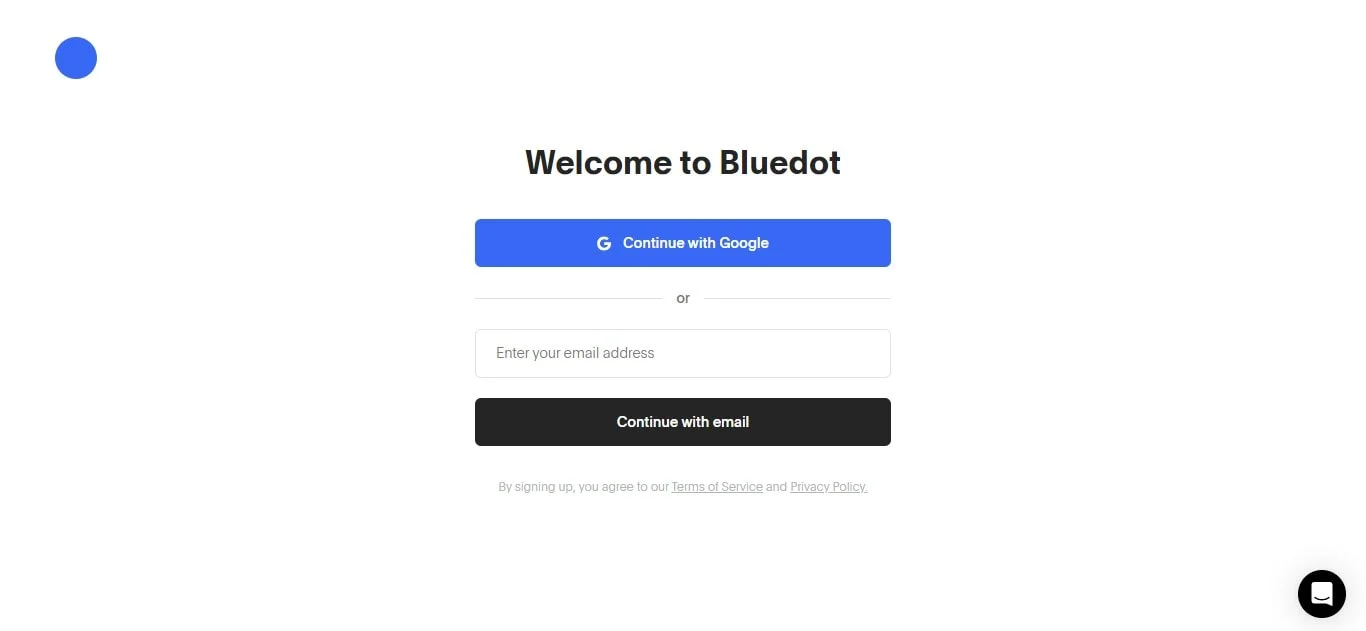
Once installed, you can open the extension and access its features. You will typically see options to capture the entire screen or a partial screen.
After selecting your area, click the video camera icon or start recording button to begin capturing your Chromebook screen. Some extensions also provide a toolbar for additional features.
Once your screen recording is complete, stop the capture, and your video will be saved automatically, allowing you to easily create screen recordings for tutorials, presentations, or sharing information. For quick access to the extension, you can also pin it to your quick settings panel for future use.
How To Capture A Screen Without Audio
To capture a screen without audio on your device, follow these simple steps:
- Select your screen recorder tool: Open your preferred screen recording software or use your device's built-in screen capture tool. If you’re using a browser extension, ensure it’s installed and ready.
- Adjust settings: Before you start capturing, navigate to the audio settings within the tool. Look for an option that allows you to disable the "record audio" option. This may be labeled as "Record Audio," "Microphone," or "Audio Input." Ensure that any audio options are turned off.
- Choose the recording area: Select whether you want to capture the full screen or just a partial screen. Use the appropriate option in your screen capture tool to define the area.
- Start recording: Click on the record button to begin capturing your screen. Since audio recording is disabled, only the visual content will be captured.
- Stop recording: Once you start recording the desired content, stop the recording using the designated stop button or shortcut.
- Save your recording: After stopping the screen capture, save the video file to your preferred location to find screen recordings at a later stage.
How To Choose The Best Way To Screen Record On A Chromebook
When deciding on the best way to start a screen recording on a Chromebook, consider the following factors:
- Built-in tools vs. extensions: Chromebooks come with a built-in screen capture tool that allows you to quickly screen record without needing additional software. This is great for basic recordings. However, if you need advanced features like editing, annotations, or including the system's audio, a browser extension may be more suitable.
- Recording options: Evaluate whether you want to capture your full screen or just a partial screen. The built-in tool lets you choose between these options, while many extensions also offer flexibility in recording specific areas of your screen.
- Audio needs: If your recordings require audio, ensure the tool you choose allows you to record both microphone input and system audio. Some extensions provide options to manage audio sources easily, while the built-in tool primarily focuses on video.
- Ease of access: Consider how quickly you can access the screen capture button or extension. The built-in tool can be activated with a simple shortcut on your keyboard (Ctrl + Shift + Show windows), while extensions may need to be pinned for quick access.
- Output location: After recording, know where to find your screen recordings. Built-in recordings typically save directly to your downloads folder, while extensions might provide additional options for saving or sharing directly to cloud services.
Conclusion
Mastering a screen recording on a Chromebook opens up a world of possibilities for effective communication and productivity. Whether you’re creating tutorials, sharing presentations, or capturing important moments, having the right tools is essential. For those looking to record meetings seamlessly, Bluedot stands out as the best solution.
Its intuitive interface allows users to easily capture, transcribe, and summarize meetings across platforms like Google Meet, Microsoft Teams, and Zoom. Recording meetings becomes even more crucial, especially when someone is sharing their screen; it ensures that no detail is missed.
Bluedot excels not only in transcription but also offers features like recording transcription, auto-generated emails, conference call transcription, automatic note taker, meeting minutes transcription, interview transcription software, and meeting templates, making it a comprehensive tool for your recording needs.
Plus, it securely saves a screen recording locally for later use, enhancing collaboration and ensuring important information is easily accessible. Elevate your meeting experience by choosing Bluedot for all your recording needs.
FAQs
How can I stop my screen recording?
To stop your screen recording on a Chromebook, simply click the video icon that appears in the corner of your screen during the recording. Alternatively, you can use the keyboard shortcut Ctrl + Shift + Q to end the session. Once you stop screen activity, your recorded video will be saved automatically.
Why is there no sound when I screen record on Chromebook?
If you're not hearing any sound during your screen recordings, it may be because the screen recording feature does not capture system audio by default. To include audio in and record your screen recordings, ensure that you select the appropriate options within your recording tool or use an extension that allows for audio capture.
Where can I find my screen recording on my Chromebook?
After completing a screen record on Chromebook, you can find select screen record recordings in your downloads folder. The recordings are typically saved automatically there, making it easy to access and review your captured content.

%201.svg)
