
Recording a webinar effectively is crucial for capturing valuable content and insights. This guide provides essential strategies for both webinar hosts and attendees, exploring various methods including built-in recording features, screen recording tools, and specialized software.
Discover how to record a webinar for maximum impact. Let's learn about the benefits of using tools like Bluedot to streamline the process and enhance the value of your recorded video webinars.
What's The Best Way To Record A Webinar?
The best way to record a webinar depends on the quality you want to achieve, the device you are using, and your specific needs. Here are the top methods to access screen recording controls:
1. Browser extensions
Dedicated browser extensions provides the most adaptive features:
Steps to use dedicated software:
1. Download : visit the Chrome webstore.
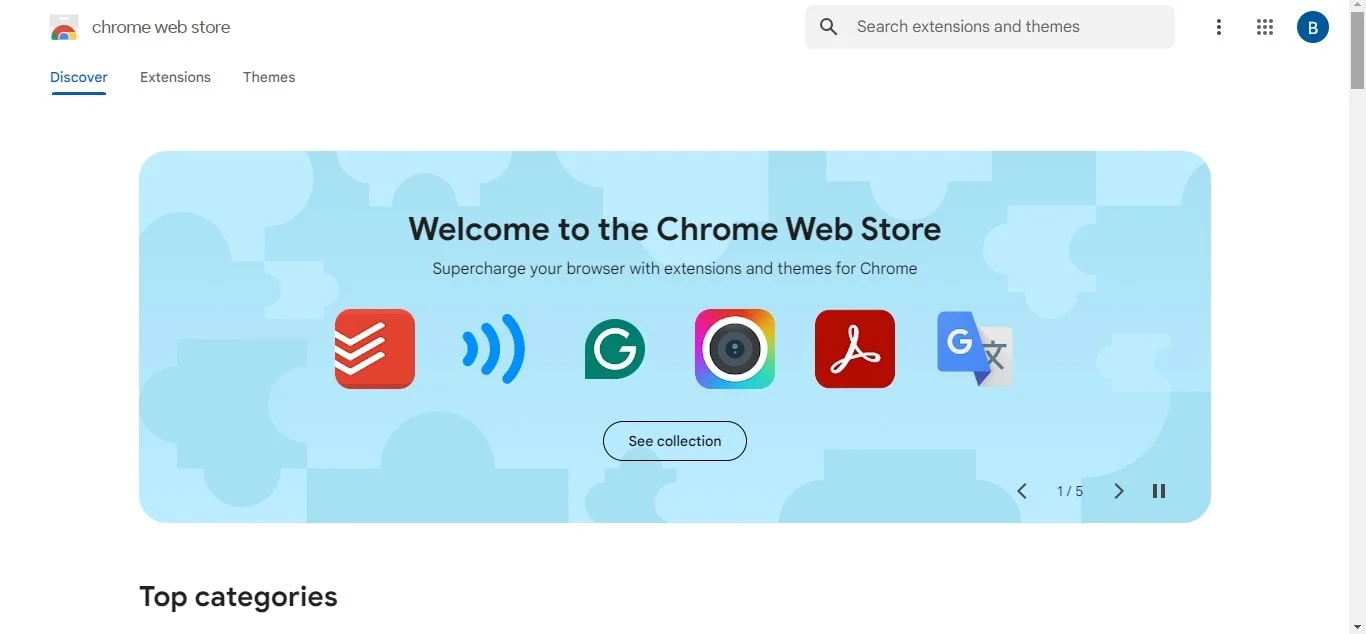
2. Search: Search for the extension you wish to install.
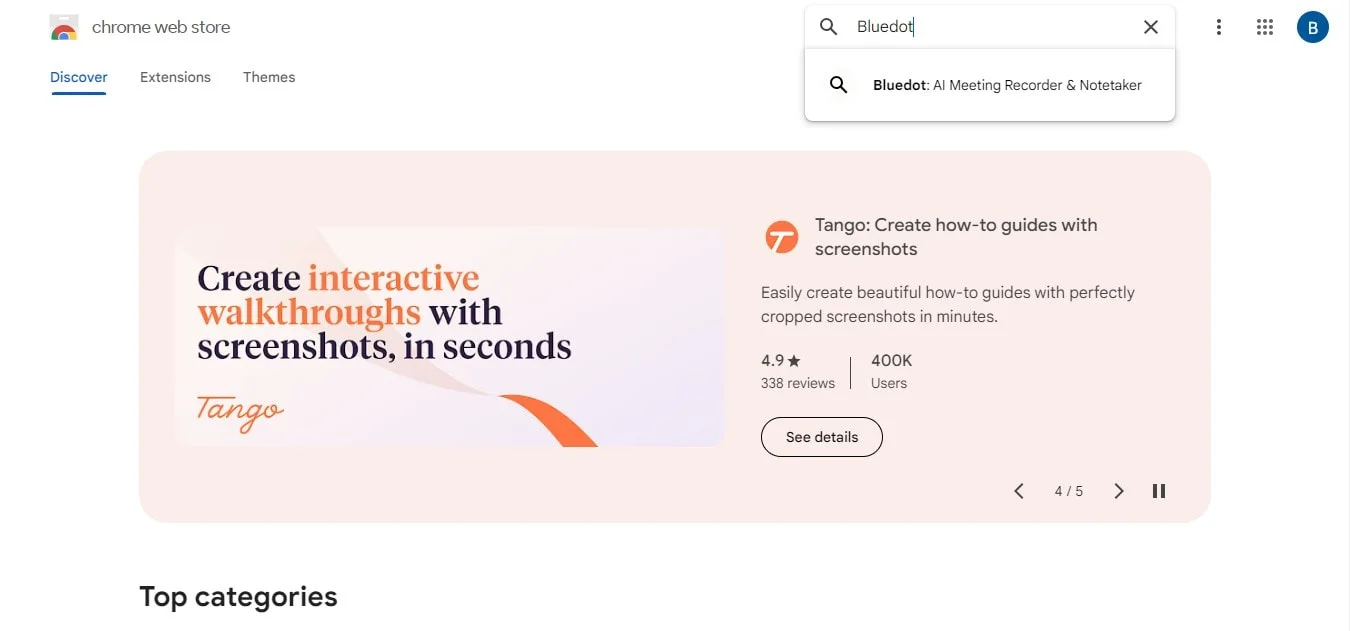
3. Choose: Pick the extension you wish to add.
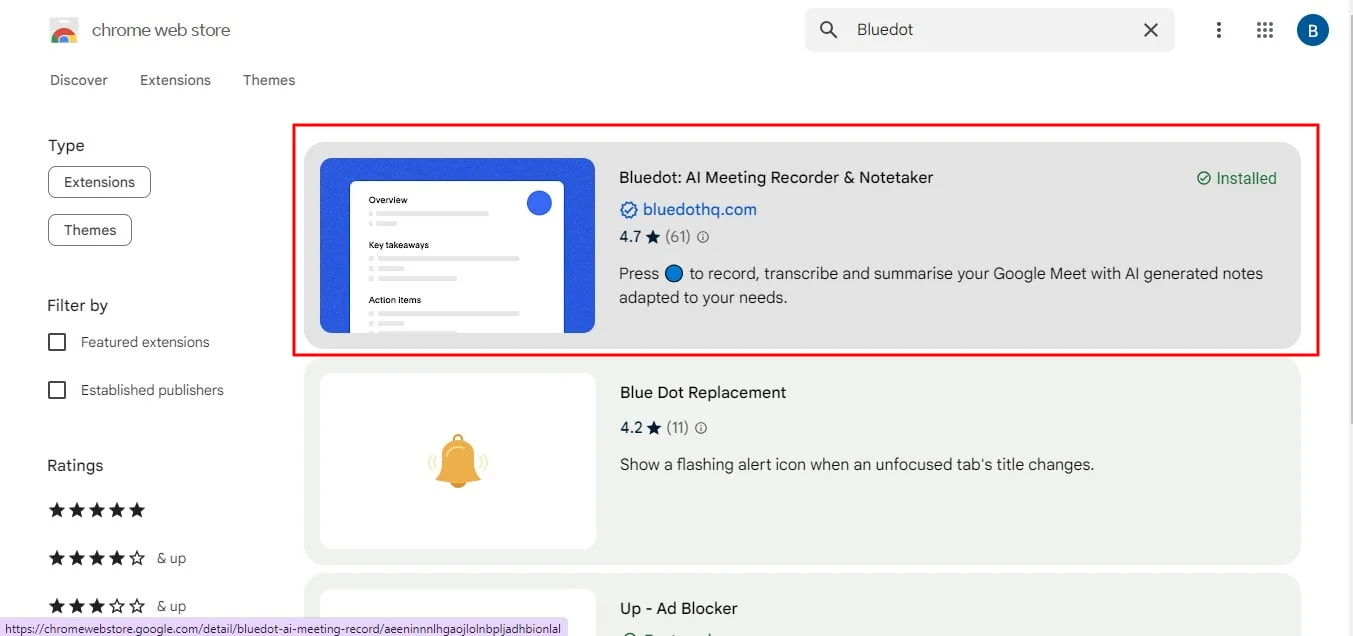
4. Install: click "add to Chrome"
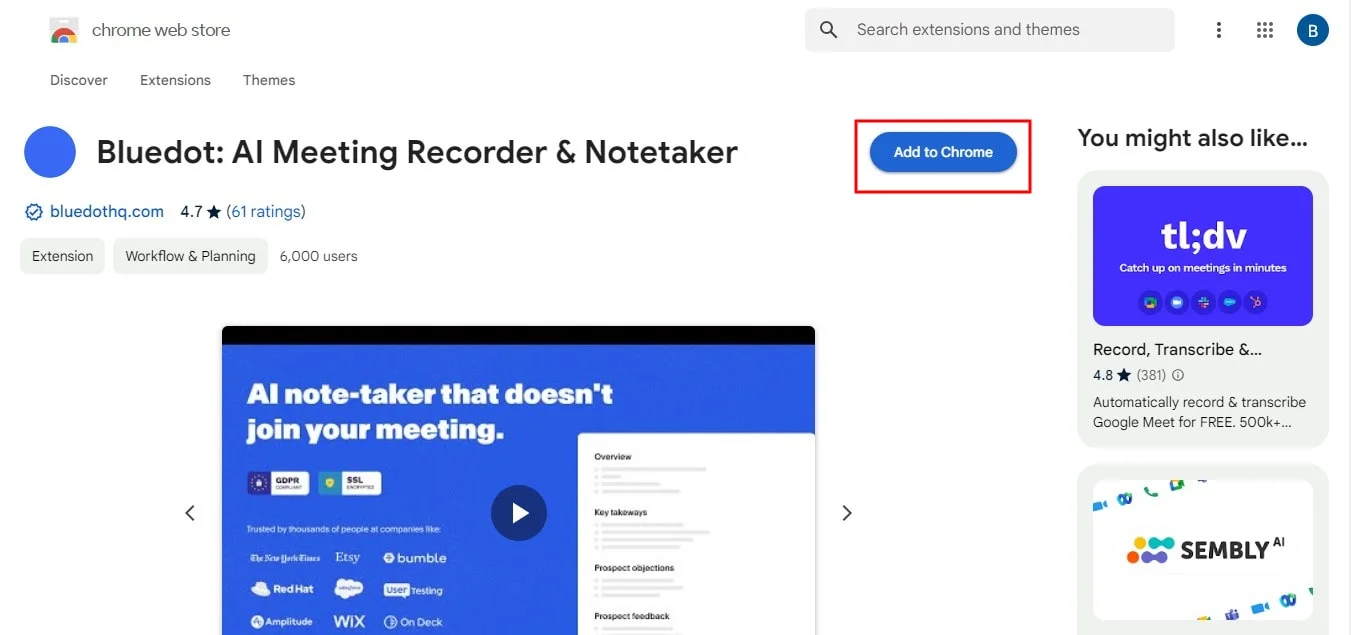
5. Set up: Grant permission to "Add extension"
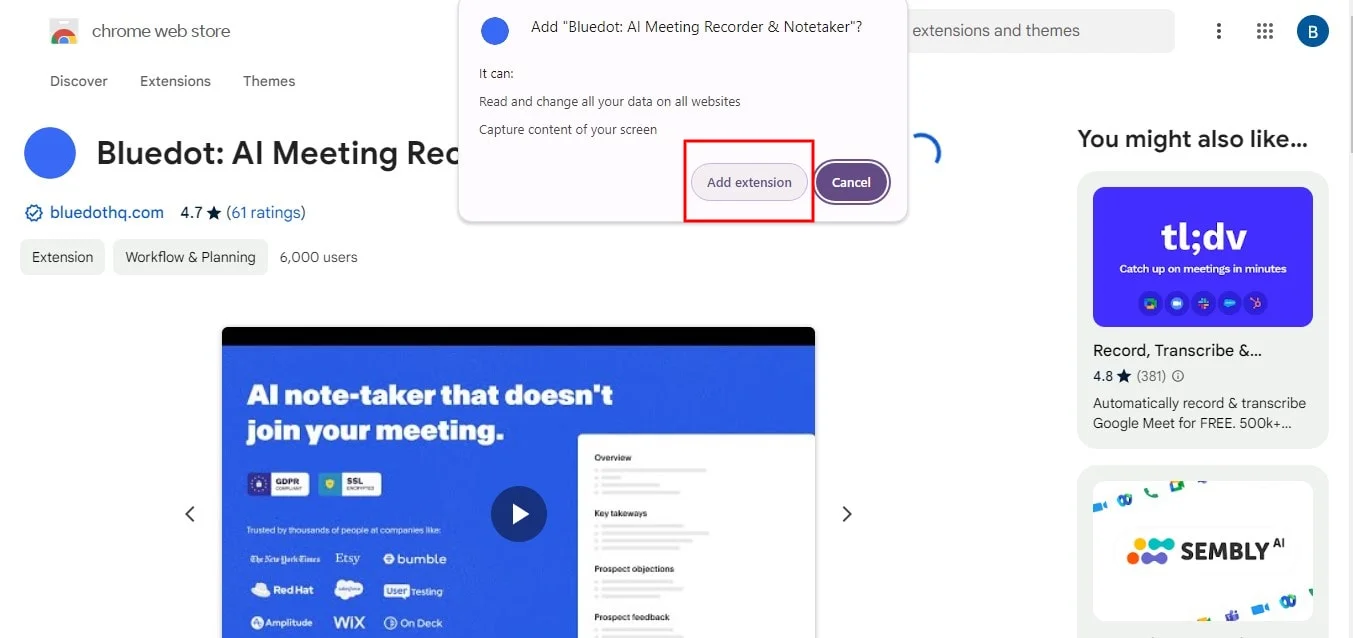
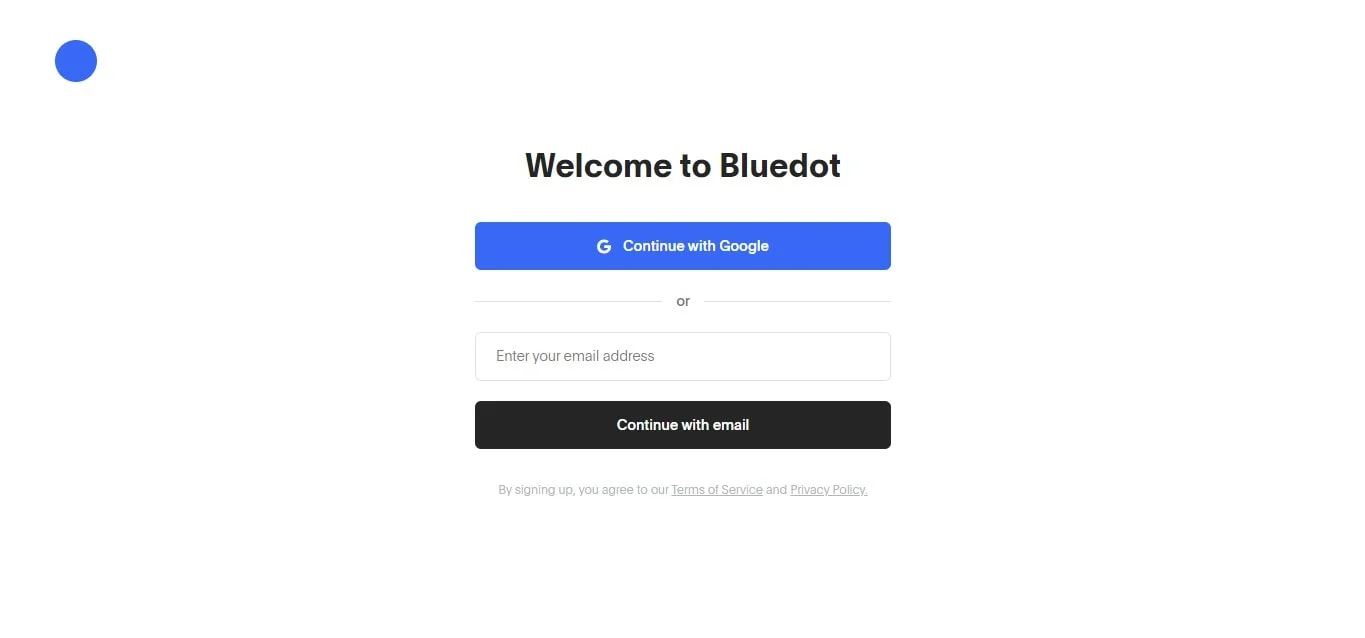
6. Set it up: once the extension has been added, be sure to sign up.
2. Screen recording software
Dedicated recording software provides the most features and highest quality recordings. Here are some top choices:
Steps to use dedicated software:
- Download and install: Visit the official website of the software, download, and install it.
- Set up: Open the software and configure your recording settings, including selecting the area of the screen to capture and the audio sources.
- Start recording: Initiate the recording process through the software interface.
- Edit and save: After recording, use the built-in editing tools to refine your video, then save it in your desired format..
3. Mobile apps
For to record a webinar on mobile devices, use built-in recording features, free webinar recording software, or third-party apps:
- Android: Use the built-in screen recorder accessible from the drop down menu
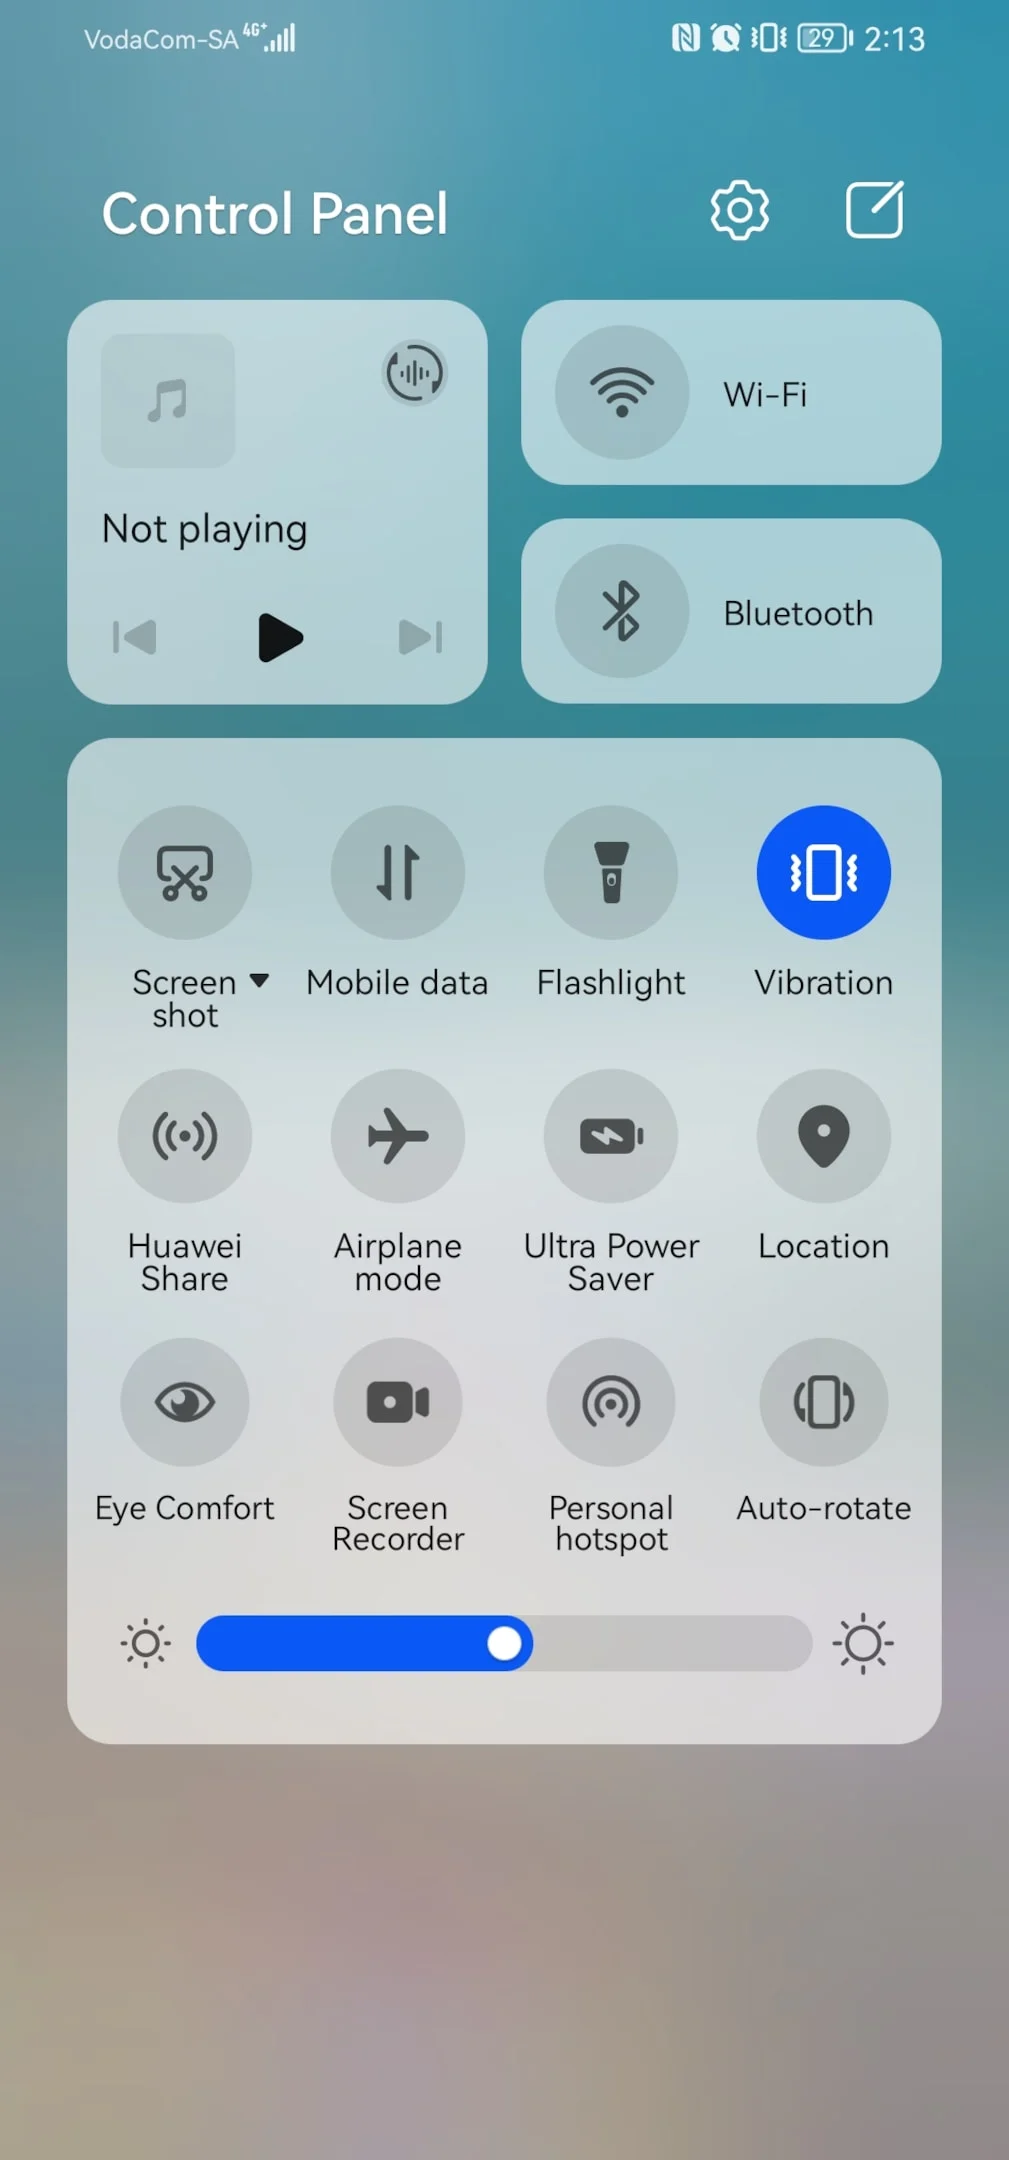
or install a screen recording app from the Play Store:
1. Search for an app
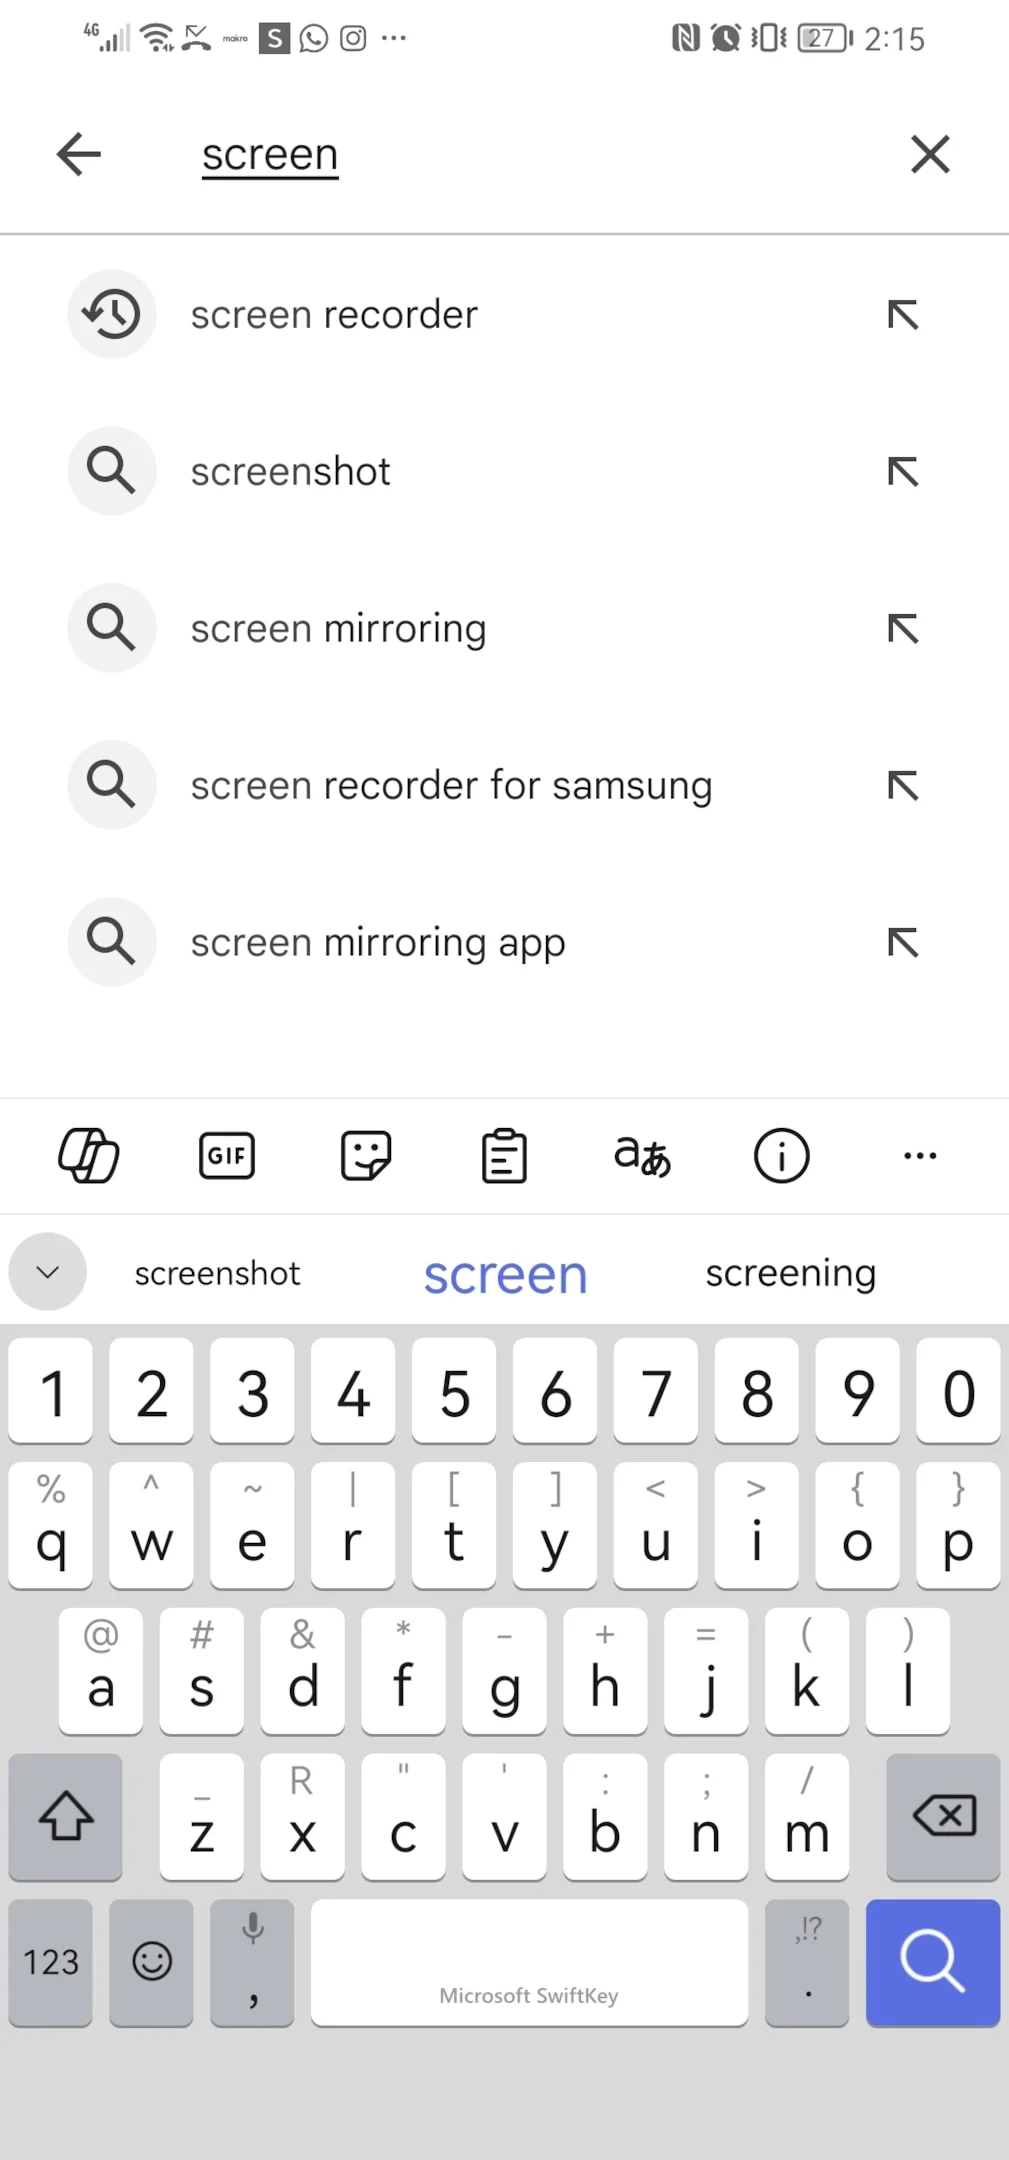
2. Pick an app
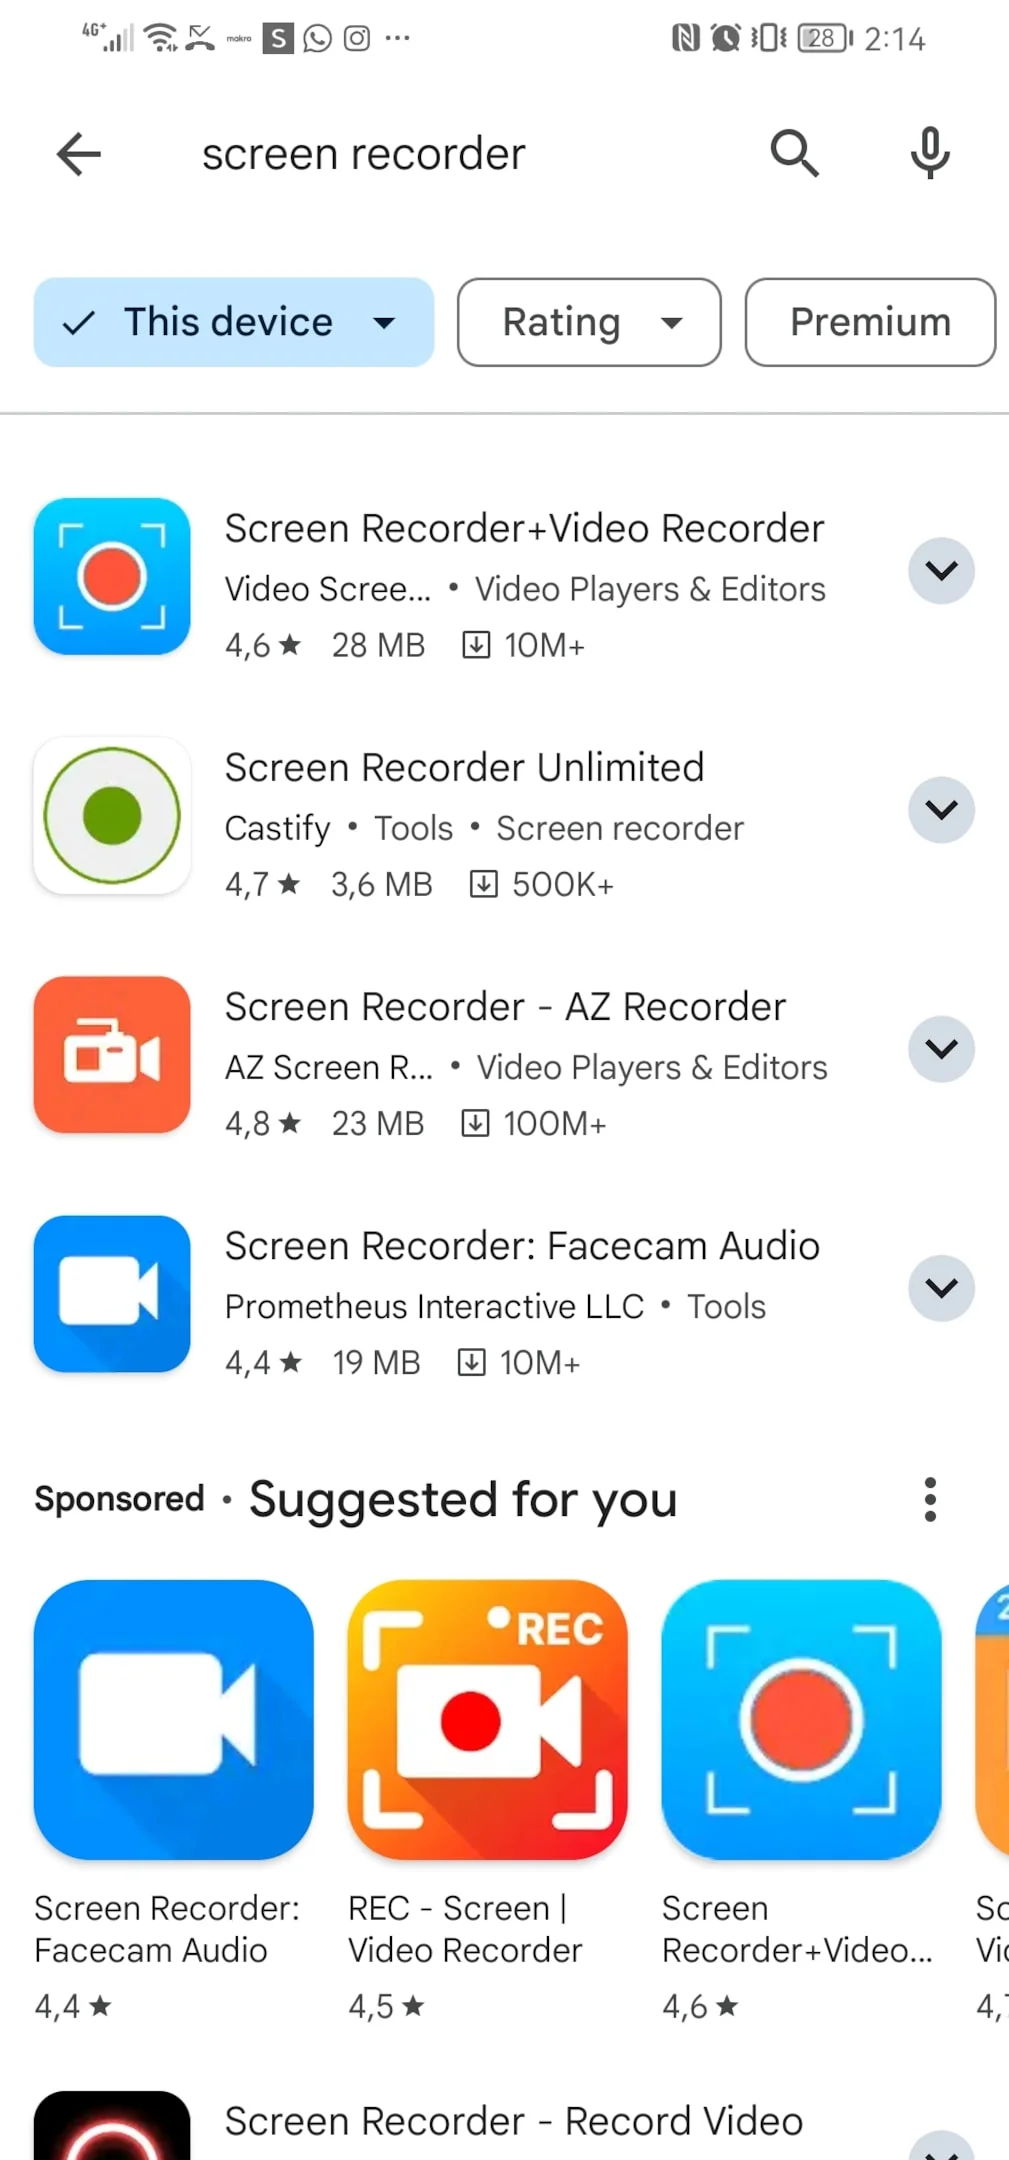
- iPhone/iPad: Use the built-in screen recording feature available in the Control Center.
Steps to use mobile apps:
- Android:
- Swipe down to access quick settings and tap the screen recorder icon.
- Adjust settings if needed and start recording.
- Stop recording by tapping the notification or icon again.
- iPhone/iPad:
- Enable screen recording in Settings > Control Center.
- Access the Control Center and tap the screen recording icon.
- Stop recording by tapping the red status bar and confirming to stop.
The Tools You'll Need To Record Your Webinar For Highest Quality
To have a successful recording webinar audio recording, you will need physical tools such as:
Audio devices for recording webinar vocals
Investing in a high-quality microphone is essential for your webinars. For more mobility, consider lavalier microphones, which clip onto your clothing, or headset mics that combine audio input and output. Additionally to record webinars, using pop filters can help reduce plosive sounds (like 'p' and 'b' noises), while shock mounts can minimize vibrations and handling noise.
Computer/tablet/cell phone
Your recording device will significantly impact the quality of your recorded webinar show. Ideally, use a modern computer with a powerful processor, ample RAM, and a high-resolution webcam. Tablets and cell phones with advanced cameras can also be effective, particularly newer models that support 1080p or 4K video recording. Ensure your device has enough memory and storage to handle lengthy recordings, and close unnecessary applications to optimize performance.
Video software tools for recording
Selecting reliable video recording software is crucial for capturing both video and audio settings on your screen and webcam simultaneously.
Look for software that supports high-resolution recording, easy integration with your microphone and camera, and offers built-in editing capabilities.
Lighting devices for improved visibility
Proper lighting enhances the visual quality of your webinar, making it look more professional. Softbox lights provide even, diffused light, reducing harsh shadows. Ring lights are popular for their ability to evenly illuminate the face, making them ideal for webinars focused on a single speaker.
LED panels are versatile and can be adjusted for brightness and color temperature. Position your lights to avoid glare on screens and ensure that your face is well-lit, with the primary light source placed in front of you and slightly above eye level.
Editing tools
After recording, good editing software is essential to polish your webinar. Adobe Premiere Pro is a professional-grade tool offering a wide range of features for detailed editing.
Use these programs to record webinar audio to trim unwanted sections, enhance audio and video quality, add transitions, and incorporate graphics or slides. Additionally, consider using audio editing software like Audacity to clean up your soundtracks further.
How To Record A Webinar As An Attendee With A Google Chrome Extension
Install the desktop app and open the recorder
To begin recording a live webinar, as an attendee, you'll need a reliable screen recording Chrome extension like Bluedot. Follow these steps:
- Install the extension: Go to the Chrome Web Store, search for your preferred recording extension, and click "Add to Chrome" to install it.
- Set up an account: If required, sign up for an account and complete any necessary setup steps.
- Open the recorder: Click on the extension icon in your Chrome toolbar to open the recorder. This may prompt the download of a desktop app, which typically offers more features and better performance.
Choose what you want to capture
Next, decide which parts of your computer screen that you want to capture:
- Full screen: Record everything happening on your screen, ideal for capturing both the webinar and any additional actions you might take.
- Application window: Select this option if you only want to record the specific window where the webinar is being displayed.
- Browser tab: For a focused capture of just the webinar tab, choose this option to avoid recording any other desktop activities.
Start the recording
With your capture settings configured:
- Initiate the recording: Click the "Start Recording" button in the extension interface, on in Bluedots case, the blue button at the bottom of the screen.
- Allow permissions: If prompted, grant the necessary permissions for the extension to access your screen and audio.
- Select your audio source: Choose whether to include system audio (sounds from the webinar) and/or microphone audio (your own commentary).
Share the recording directly from the platform
Most screen recording extensions offer built-in sharing features:
- Access the recording: Navigate to the recordings section of the extension or your account dashboard.
- Edit if necessary: Use the built-in editing tools to trim, crop, or annotate your recording.
- Share: Click on the share or export button to generate a shareable link, download the video, or upload it directly to platforms like YouTube, Google Drive, or social media sites.
Conclusion
Recording webinars effectively demands careful consideration of factors like whether you're the host or an attendee, and the desired level of control over the recording. While built-in recording features and recording tools offer viable options, Bluedot emerges as a superior solution for capturing webinars on platforms like Google Meet, Microsoft Teams, and Zoom.
Beyond basic recording, Bluedot excels at capturing screen-sharing content, often missed by other methods. Bluedot acts as amazing webinar recording software, which works well for retaining valuable information, especially when collaborative work or presentations are involved.
With its features including recording, transcription, auto-generated emails, meeting templates, and secure storage, Bluedot empowers users to optimize their webinar experience and leverage recorded content for maximum benefit.

%201.svg)
