Changing the camera in Google Meet is a simple process that can greatly enhance your video meeting experience. This guide explains how to switch between your computer's camera and external devices, helping you optimize video quality, and video resolution and solve issues like poor image resolution or device connection problems.
By reading further, you'll gain clear, step-by-step instructions on managing camera settings, ensuring your meetings run smoothly without technical hiccups. This information is valuable for anyone looking to improve the quality of their Google Meet calls and avoid common video or audio delays.
How To Switch Camera In Google Meet For Browser
By ensuring that your settings are optimized, you can enhance your experience in video meetings, improving not just your own visibility but also the overall quality of the communication.
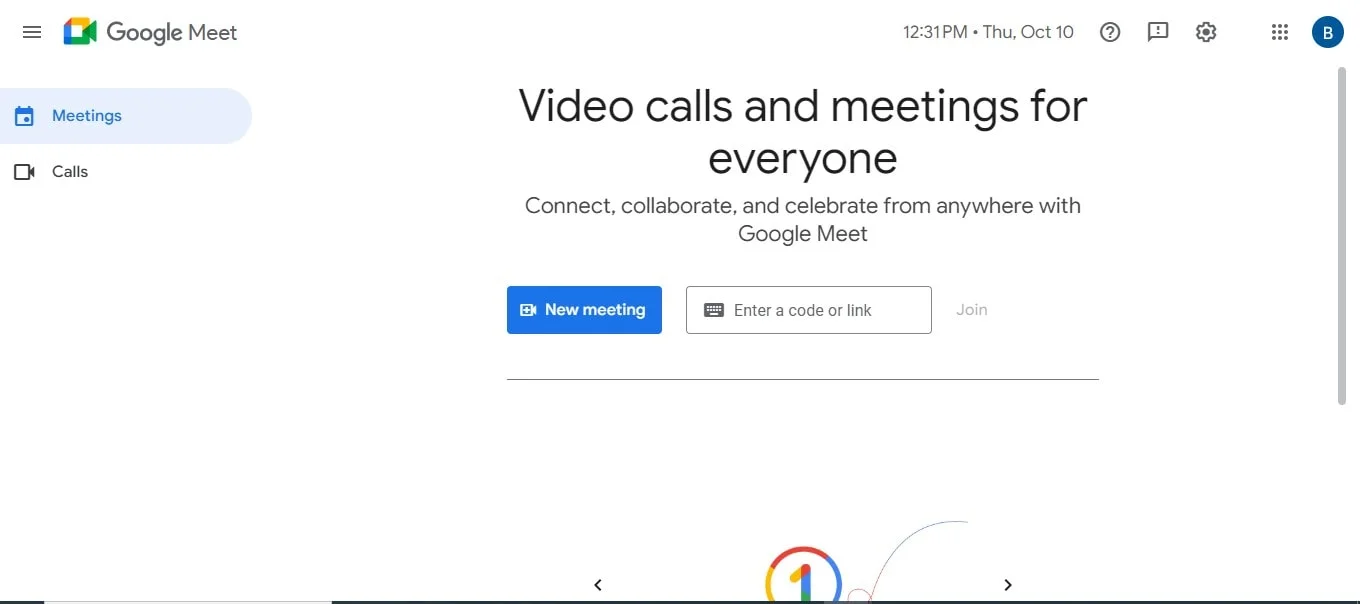
Open meet.google.com.
Begin by navigating to the Google Meet website. You can do this by entering meet.google.com in your browser's address bar. This will take you to the platform where you can join or create a video meeting.
Join a video meeting
To participate in a video meeting, click on a meeting link you received or select an existing meeting from your calendar. Once you click the link, you will enter the Google Meet interface.
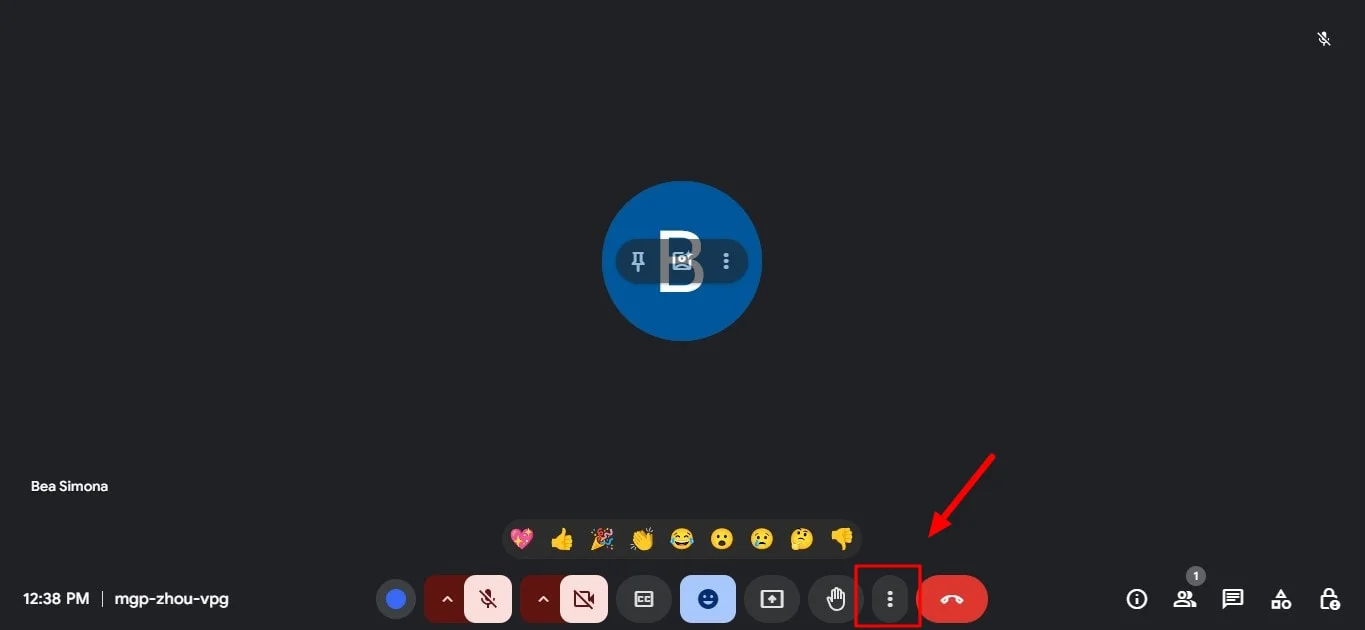
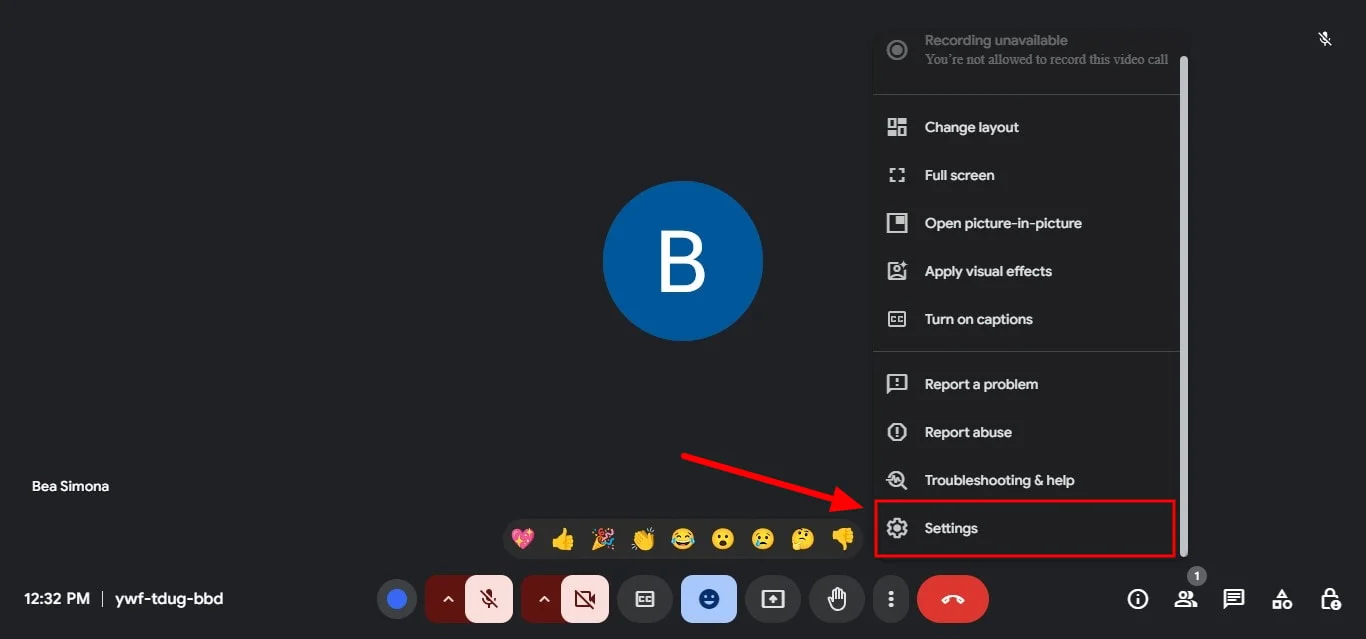
Click more and then settings
In the meeting interface, look for the three vertical dots in the bottom-right corner of the screen. Click on this icon to reveal a menu, and then click Settings from the options provided. This is where you can adjust your video and audio settings.
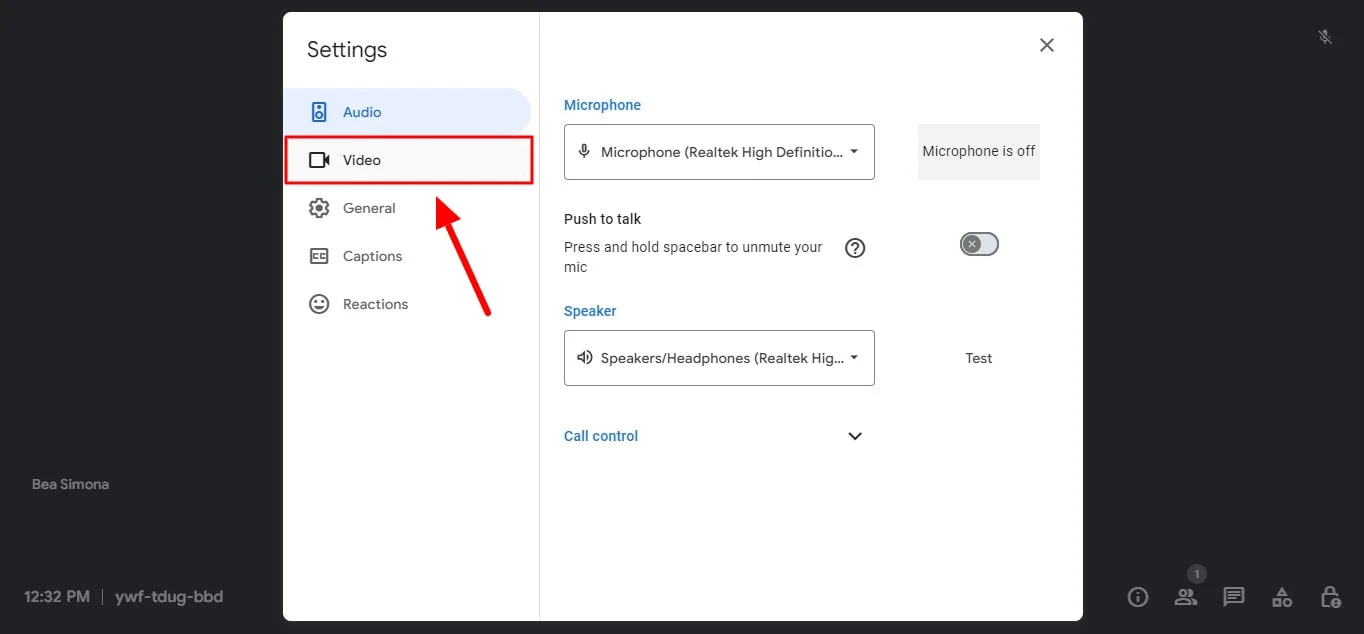
Click the video and then the camera
When you click the Settings window, navigate to the Video tab. This section contains important options that affect your quality and settings. Here, you will see a subsection for settings.
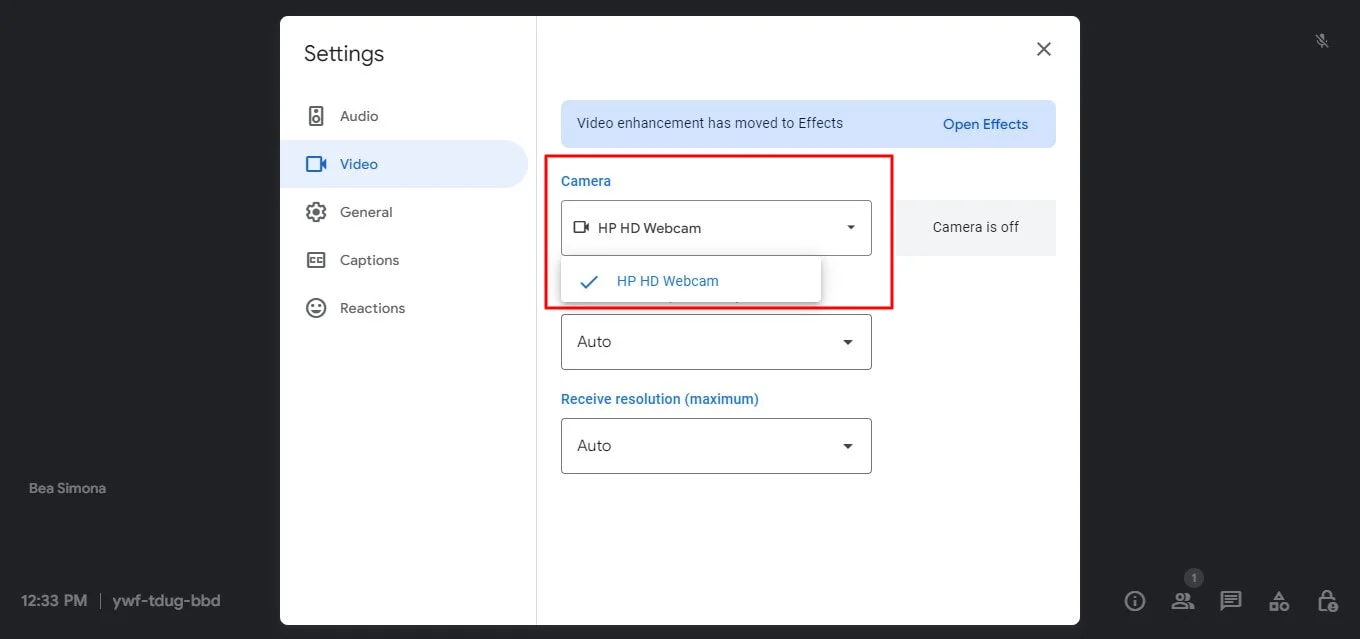
Select a camera device
In the Camera section, you will find a drop-down menu that lists all available camera devices. You can choose between your camera or any external camera connected to your device. Select your preferred camera device to ensure you're using the one that provides the best image quality, high definition, and standard definition for your video feed.
Click close
After you've made your selections, simply exit. Your camera settings will now be updated, allowing you to present yourself clearly in Google Meet, if you need to make any adjustments, simply click settings again.
Conclusion
Switching your camera to Google Meet is a quick way to enhance quality, ensuring smooth and professional meetings. Managing camera settings helps prevent common issues like lower-quality picture or video delays. To further improve your meeting experience, especially when important screens are being shared, Bluedot is the perfect solution.
Bluedot not only discreetly records meetings but is also invaluable when you or someone else is sharing their screen, capturing every detail. Beyond recording, it offers features like automatic transcription, auto-generated emails, conference call transcription, automatic note-taking, meeting minutes transcription, interview transcription software, meeting templates, and secure storage of your sessions for later use.
This makes Bluedot an essential tool for keeping your meetings organized, productive, and accessible long after they’re over.

%201.svg)
